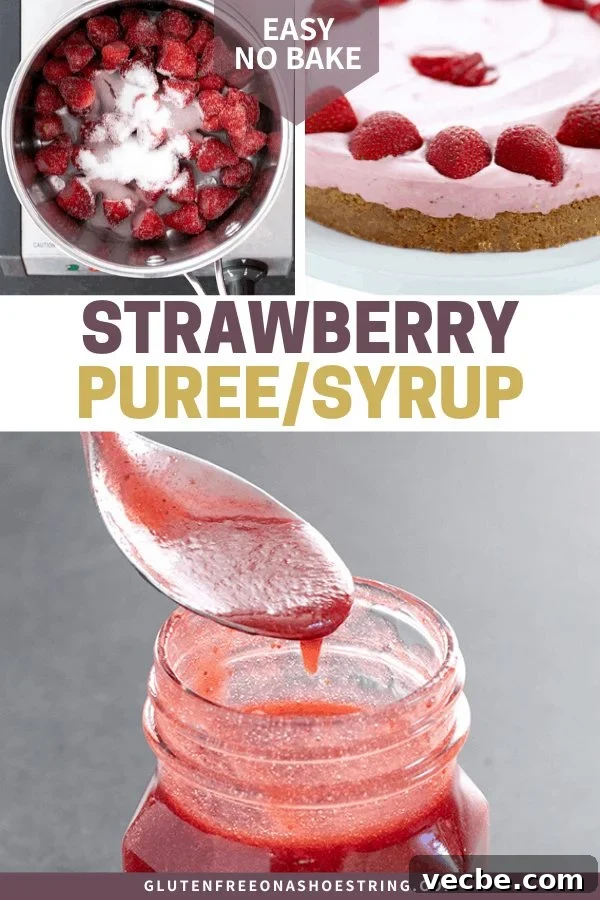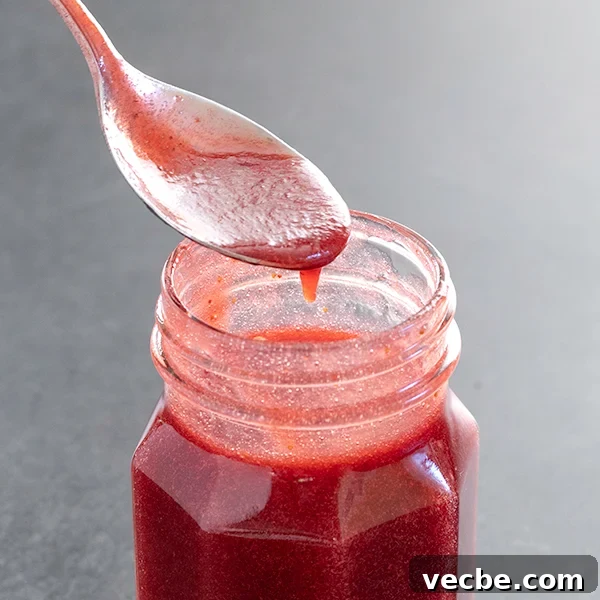
Homemade strawberry puree is a simple, versatile sauce made by gently cooking frozen strawberries with water, a pinch of salt, and sugar. You can keep it lightly sweet for baking and breakfast recipes, or cook it longer with a little extra sugar to make a thicker strawberry syrup for desserts, drinks, and toppings.
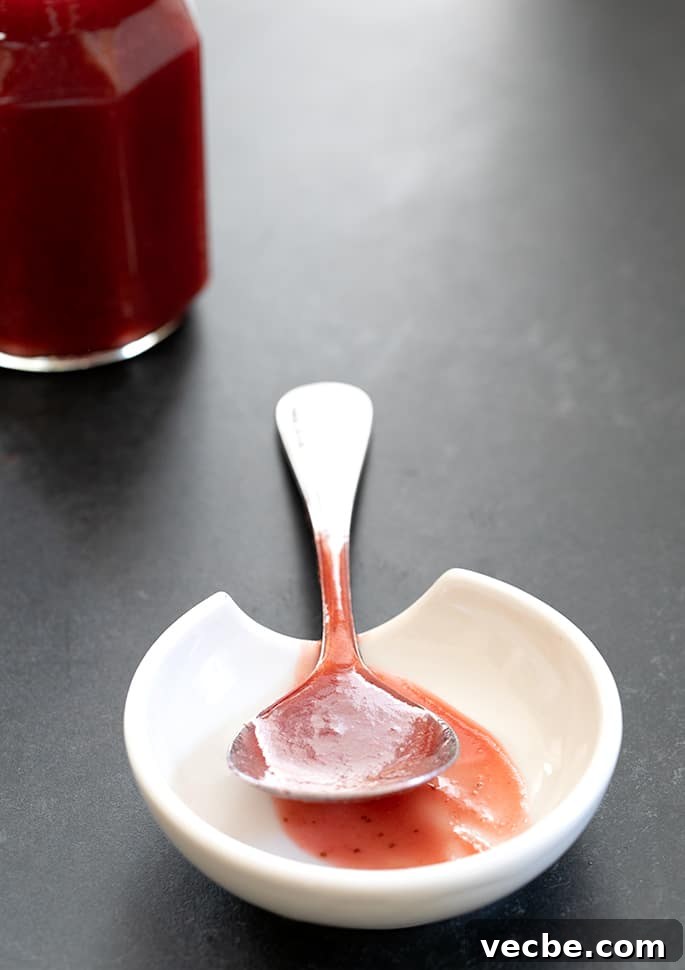
How do you make a strawberry puree from scratch?
Making strawberry puree from scratch is easy, and it is one of those basic recipes you will find yourself using again and again. The process starts with frozen strawberries, which are cooked until soft with a small amount of water, sugar, and salt. Once the berries have released their juices and become tender, the mixture is blended until smooth.
This homemade strawberry puree is useful in so many everyday recipes. It can be stirred into milk for strawberry milk, spooned over ice cream, layered with yogurt and granola, or used as a fruity base for no bake desserts. It also works beautifully in cakes, cupcakes, glazes, popsicles, and creamy fillings.
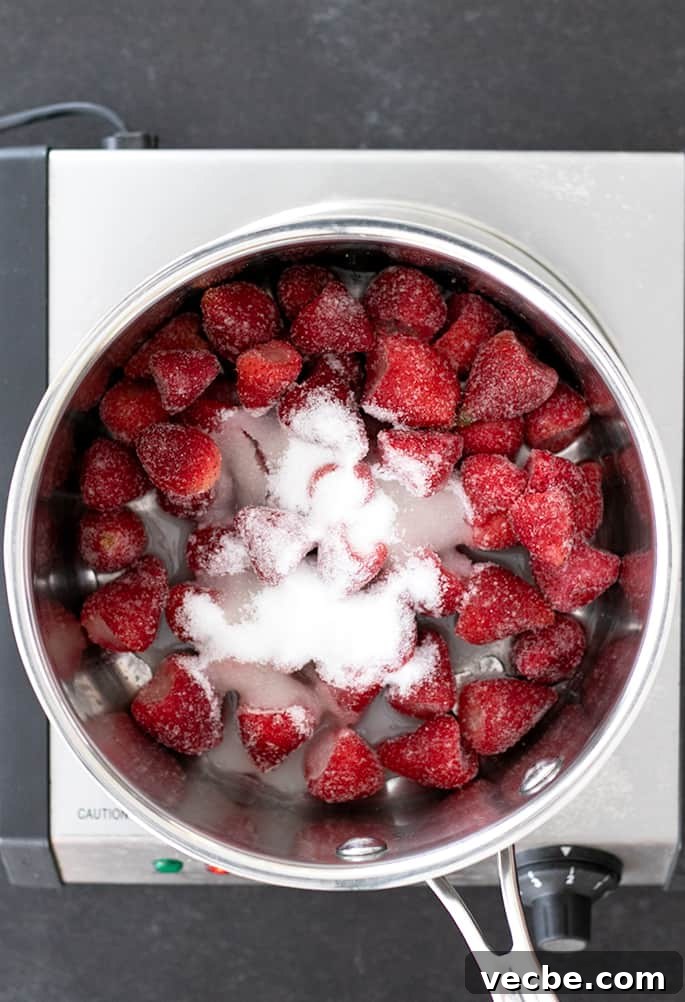
Frozen strawberries are especially convenient because there is no need to wash, hull, or slice them. You do not even have to thaw them first. As they warm in the saucepan, they soften naturally and release their juices. The added water helps prevent the berries from scorching before they begin to break down, and most of it cooks off as the puree thickens.
The amount of sugar is flexible. If your strawberries are naturally sweet or you prefer a brighter, fruit-forward flavor, use less sugar. If you want a dessert-style syrup, add more sugar and simmer the mixture longer. The sugar helps sweeten the berries, but it also gives the puree a thicker texture and helps the finished sauce keep well in the refrigerator.
Strawberry puree or strawberry syrup
Strawberry puree and strawberry syrup begin the same way, but they are not exactly the same. Strawberry puree is lighter, thinner, and closer to the natural texture of cooked fruit. Strawberry syrup is sweeter, darker, and more concentrated because it is cooked down further.
To make strawberry puree, cook the strawberries just until they are soft enough to crush against the side of the pan with a spoon. The mixture should bubble and begin to reduce slightly, but it should still be loose enough to pour. At that point, remove it from the heat and blend until smooth.
A stick blender is the easiest tool because you can puree the strawberries directly in the saucepan. If you are using a regular blender, let the mixture cool slightly first and blend it in batches if needed. Hot liquids expand when blended, so leave enough space in the blender jar and work carefully.
To turn the puree into strawberry syrup, return the blended mixture to the saucepan, add more sugar to taste, and continue cooking. Stir frequently as it bubbles and thickens. The color will become deeper and richer, and the volume should reduce by about half. You may start with about 3 cups of puree and finish with about 1 1/2 cups of syrup.
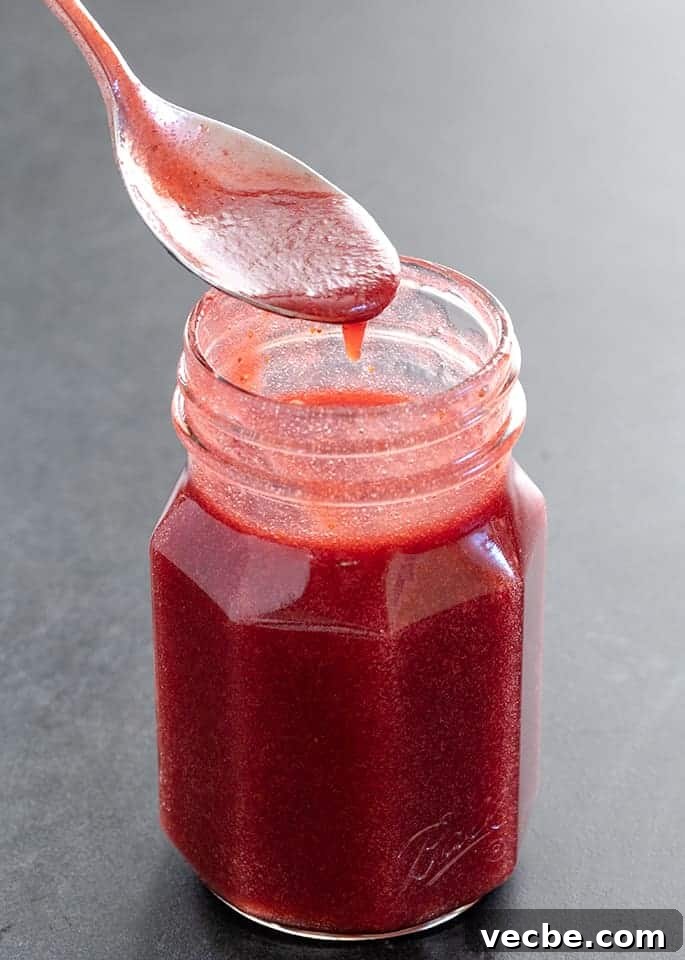
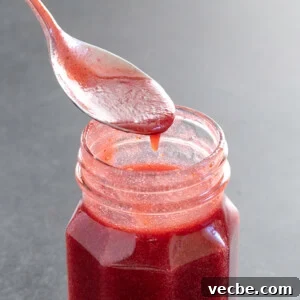
The thicker version shown above is strawberry syrup. It has been reduced until the flavor is more concentrated and the color is deeper. It will continue to thicken as it cools, so do not worry if it seems slightly thinner while it is still hot.
How to use the strawberry puree or syrup
Homemade strawberry puree and strawberry syrup can be used in many of the same ways. If you want a fresher, lighter fruit flavor, use the puree. If you want a sweeter topping or a stronger strawberry flavor in a dessert, use the syrup. In many recipes, the two can be used interchangeably as long as you adjust for sweetness and thickness.
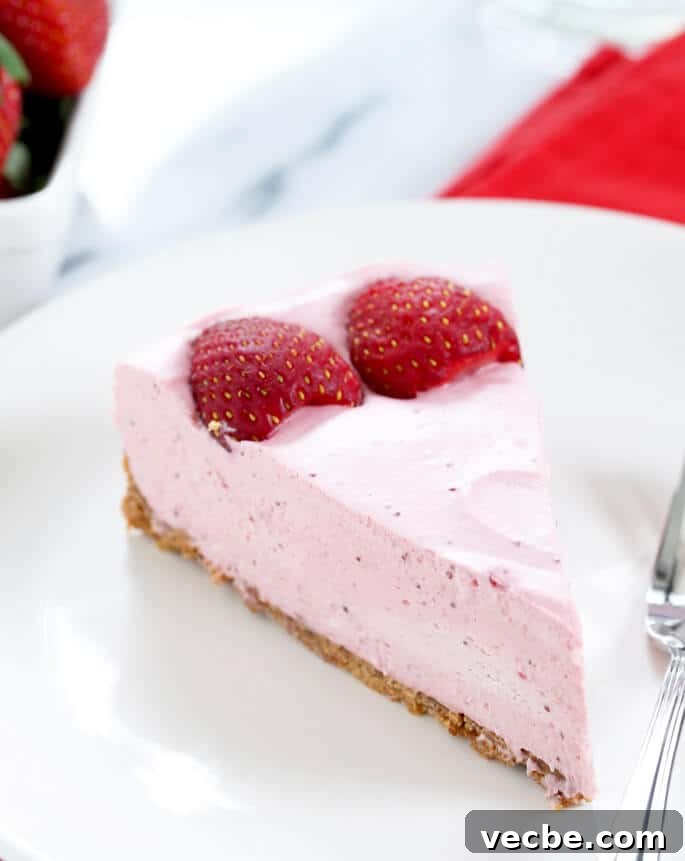
A smooth and creamy no bake strawberry cheesecake is one of the best ways to use this sauce. Strawberry puree blends well with cream cheese, whipped cream, gelatin, and sugar to create a rich filling with real strawberry flavor. If you have prepared a batch of strawberry syrup, you can use it as the concentrated strawberry base in the filling.
For a lighter dessert, try it in a no bake strawberry yogurt pie. The syrup works especially well in recipes that are not very sweet on their own. You can also drizzle the sauce over gluten free strawberry shortcake, fold it into whipped cream, or use the puree as the strawberry base for gluten free strawberry cake.
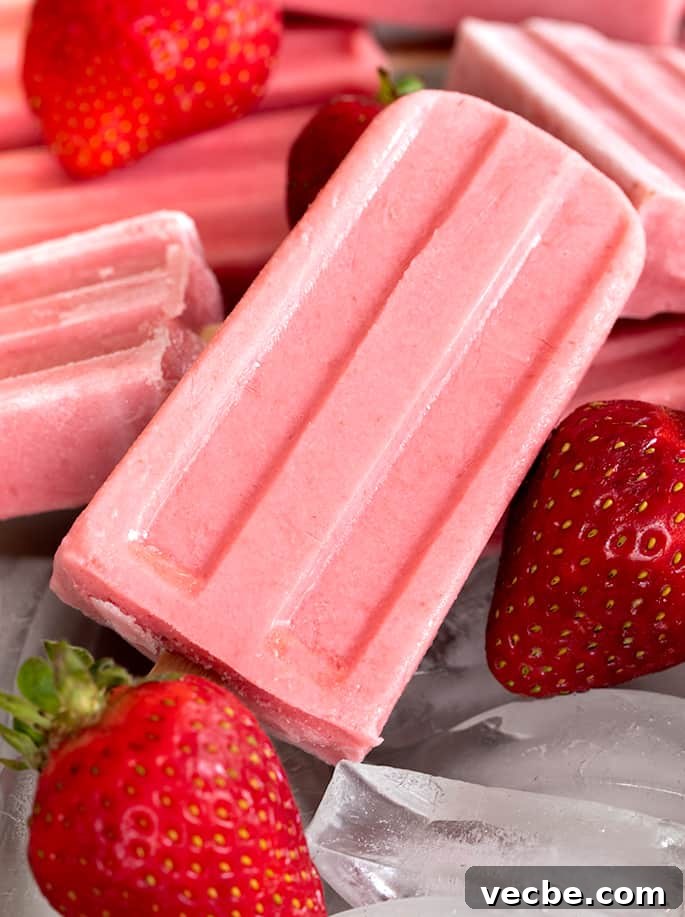
Strawberry yogurt popsicles are another simple use for this recipe. Combine equal parts strawberry puree or syrup and plain yogurt for a creamy frozen treat. Use puree for a fruitier, less sweet popsicle, or syrup for a richer and more dessert-like version.
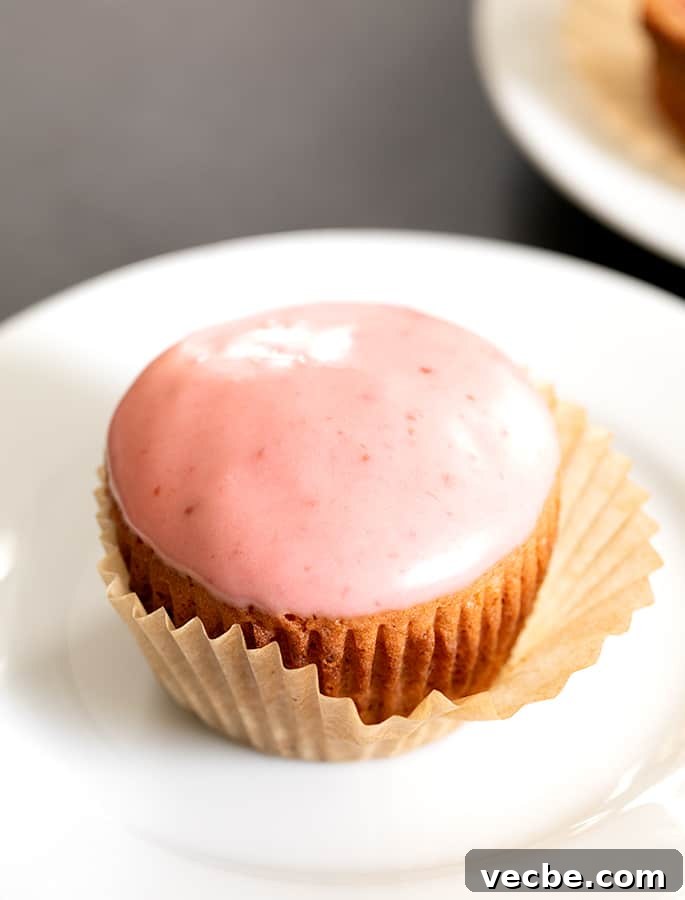
These tender gluten free strawberry cupcakes get their flavor from cooked and pureed strawberries. Use homemade strawberry puree or syrup in the cupcake batter and in the glaze or frosting for a naturally colorful finish. For gluten free strawberry muffins, chopped fresh strawberries are used instead.
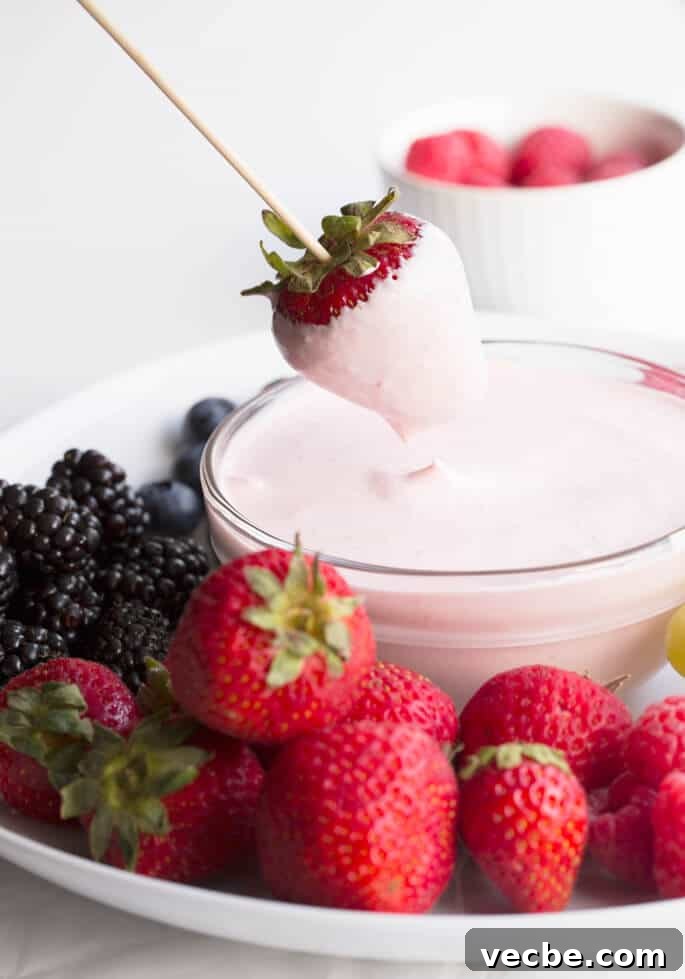
This sauce can also be used in a strawberry fruit dip. A dip made with Greek yogurt, light cream cheese, honey, and strawberries is easy to adjust with this puree. Use the strawberry puree or syrup in place of the berries and honey in the strawberry fruit dip, adjusting the sweetness to taste.
Strawberry puree ingredients and substitution suggestions
Strawberries
Frozen strawberries are ideal for homemade strawberry puree because they are affordable, easy to keep on hand, and perfect for cooking down. Since the fruit will be simmered and blended, there is no strong reason to use fresh strawberries unless that is what you already have available.
You can try the same method with other berries, such as blueberries or raspberries. Raspberries have larger seeds, so the puree may be less smooth unless you strain it. Blackberries tend to have even more noticeable seeds, which can make them less suitable for this style of smooth sauce.
If you want the smoothest texture, press the blended puree through a fine mesh sieve. This will not remove every tiny seed, but it will catch many of the larger pieces and create a more polished sauce for cheesecakes, glazes, and fillings.
Sugar
Sugar does more than sweeten the strawberries. It also helps the puree thicken as it cooks and gives syrup its glossy, concentrated texture. Start with less sugar if you prefer a tart berry flavor, then add more as needed after tasting.
Honey can be used instead of granulated sugar if you prefer. Try using 2 tablespoons of honey in place of 1/4 cup of granulated sugar, then adjust based on flavor and texture. Because honey has its own distinct taste and moisture, the finished puree may be slightly different, but it will still work well in many recipes.
Homemade Strawberry Syrup
Equipment
-
Blender
Ingredients
- 1 pound frozen strawberries
- ½ cup lukewarm water
- ½ cup (100 g) granulated sugar, plus more as desired
- ¼ teaspoon kosher salt
Instructions
-
Place the frozen strawberries, water, 1/4 cup (50 g) granulated sugar, and salt in a medium heavy-bottom saucepan. Add more sugar if you want a sweeter puree.
To make strawberry puree
-
Set the saucepan over medium heat and cook, stirring occasionally, until the mixture begins to bubble.
-
Continue cooking until the strawberries are soft enough to crush against the side of the pan and the liquid has started to reduce slightly.
-
Remove the pan from the heat.
-
Use a stick blender to puree the mixture directly in the saucepan until smooth.
-
If using a regular blender, let the mixture cool slightly first, then blend carefully in batches if needed.
-
Leave plenty of space in the blender because hot ingredients expand during blending. At this stage, the mixture is strawberry puree.
-
Transfer the puree to a heat-safe jar with at least a 3-cup capacity. Let it cool uncovered, then cover and refrigerate for up to 2 weeks.
To make strawberry syrup
-
Return the puree to the saucepan if you removed it to blend, then add about another 1/4 cup (50 g) granulated sugar, or sweeten to taste.
-
Cook, stirring very often, until the mixture reduces by about half, at least another 5 minutes.
-
The syrup will bubble at first, then settle as it thickens. It will darken in color and continue to thicken as it cools.
-
Transfer the syrup to a heat-safe jar with at least a 1 1/2-cup capacity.
-
Let the jar cool uncovered, then cover and store in the refrigerator for up to 2 weeks.
Nutrition information is automatically calculated and should be used only as an approximation.