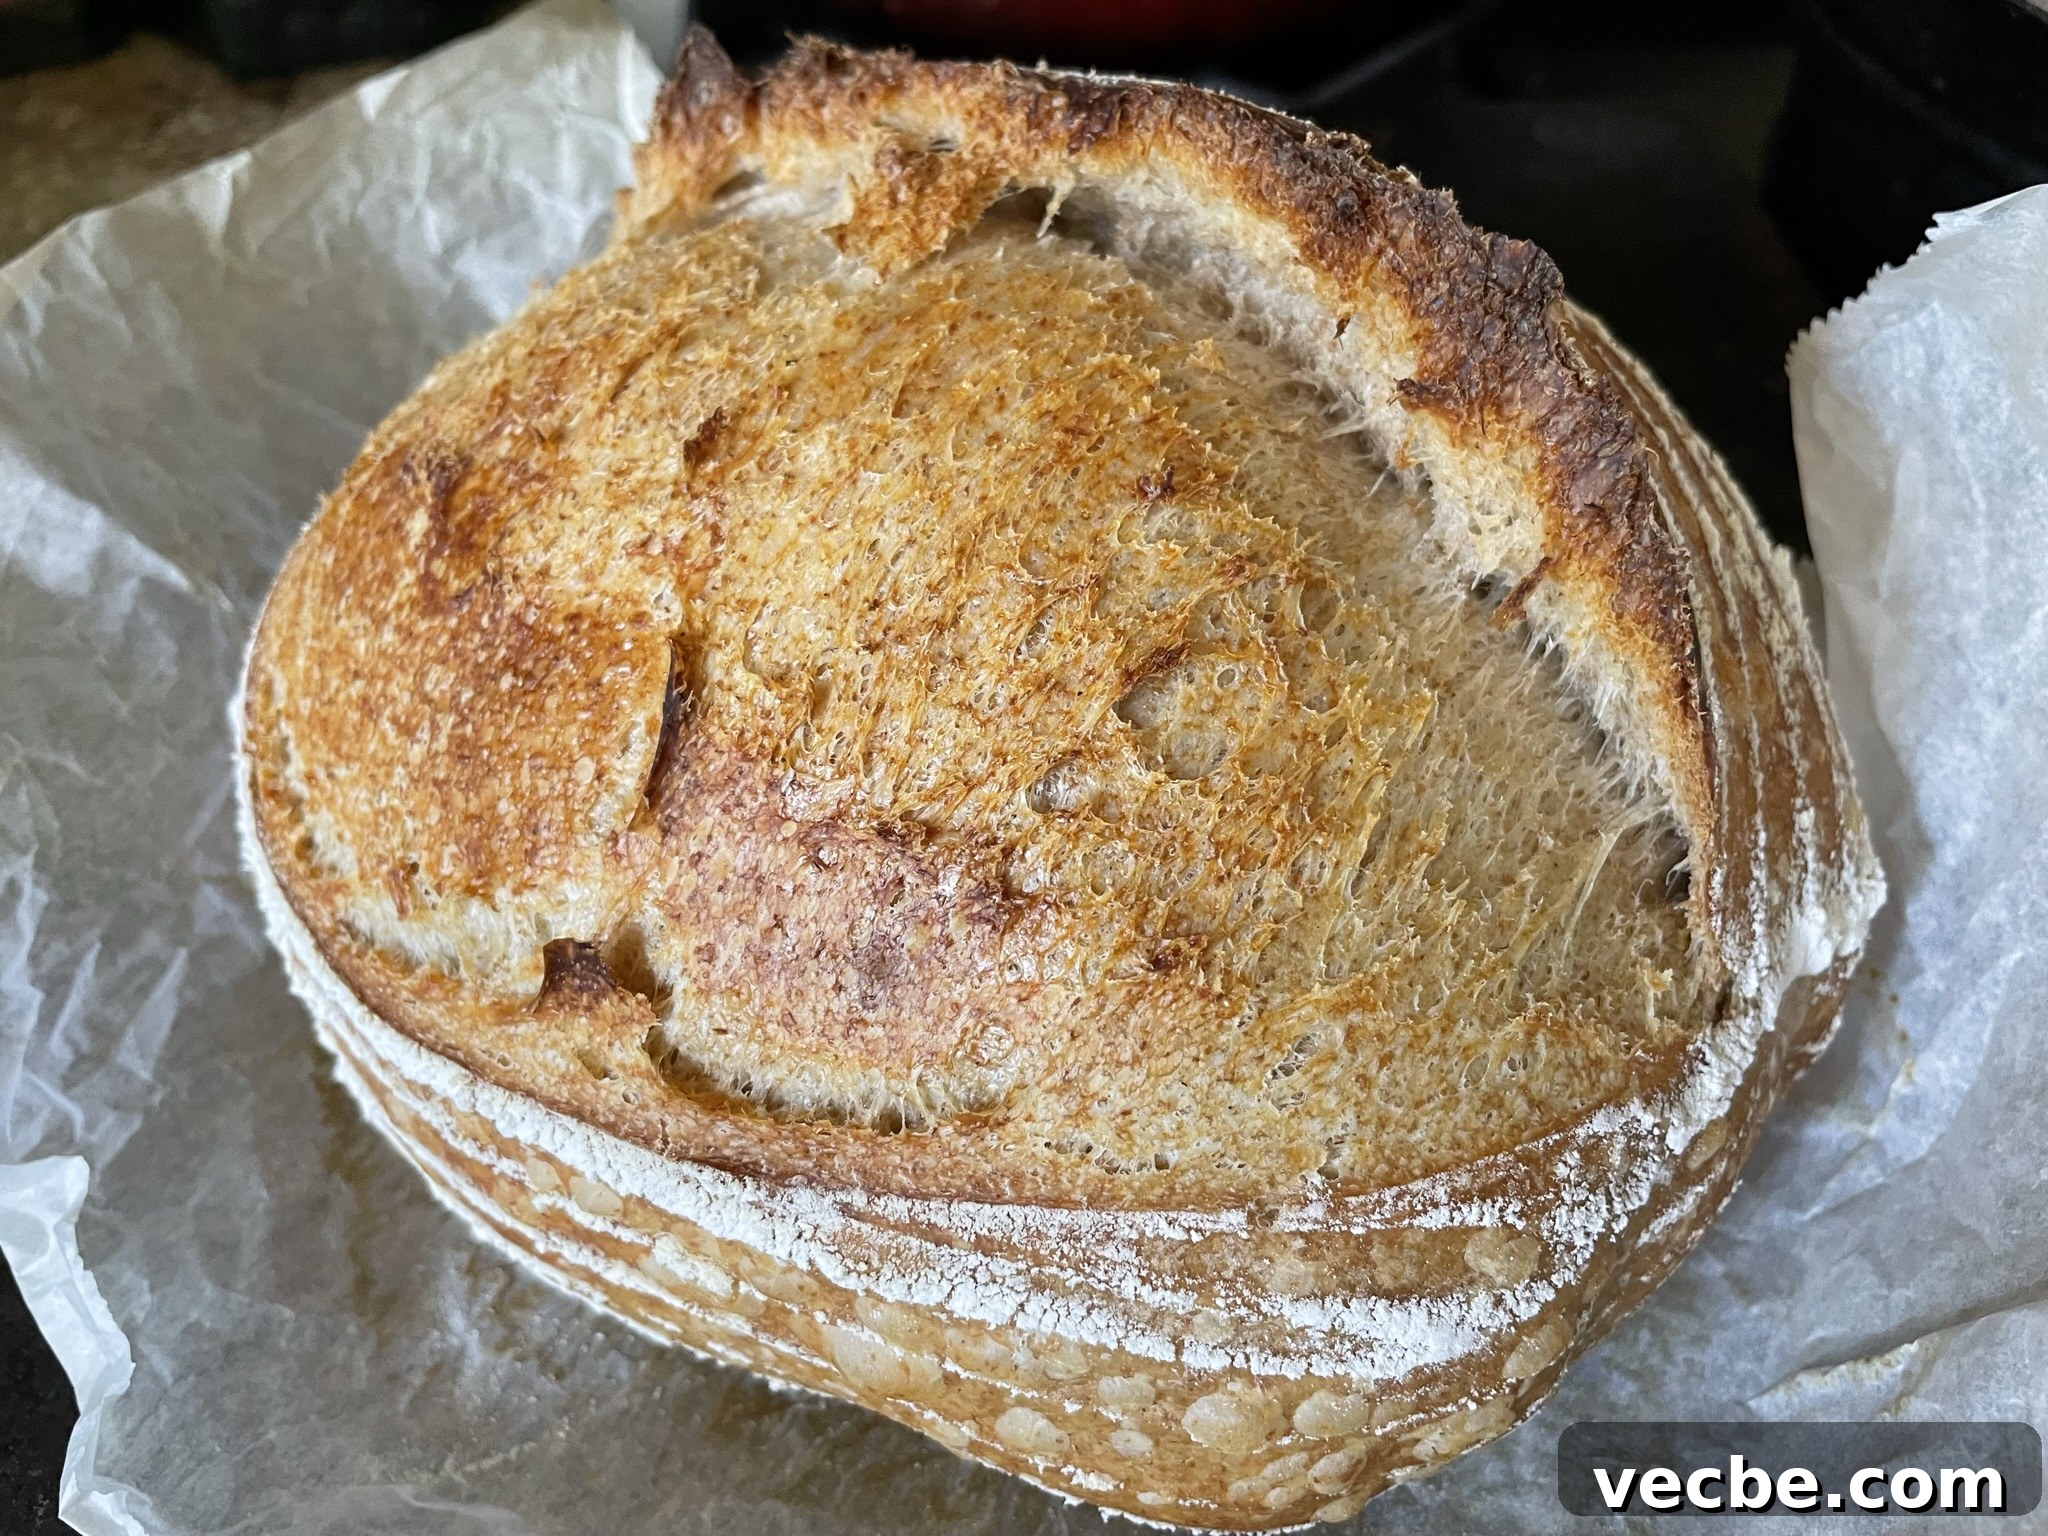
Many bakers assume scoring sourdough is purely decorative, inspired by the intricate designs seen on social media. In reality, scoring serves an important functional role. Sourdough is often baked in a very hot cast-iron Dutch oven—roughly 100°F (38°C) hotter than a typical home oven for regular bread—which produces a dramatic oven spring, the rapid rise of the dough during the first minutes of baking. Without a deliberate cut, the loaf will seek any weak spot in the crust and split unpredictably, producing unattractive cracks and an uneven crumb. A controlled score creates a predictable area of least resistance, directing expansion along the cut and helping form the characteristic “ear” along the crust where the dough lifts cleanly.
Tips for scoring your sourdough
For best results, score dough that has been properly chilled. Cold dough is firmer and easier to score, so I recommend cold-proofing shaped loaves in a banneton in the refrigerator for about 48 hours. Extended cold proofing improves strength and flavor while slowing fermentation, and it also encourages a better oven spring when baked.
Use a very sharp blade to make clean, confident cuts. A scoring tool—or bread lame—is ideal, but a fresh razor, a sharp knife, or even a pair of scissors in a pinch will work. When you score, hold the blade at about a 45-degree angle and make one smooth, decisive motion. Aim for an angled incision around 1/2″ (1¼ cm) deep. That low, slanted cut promotes an appealing ear as the crust lifts, and because the expansion is more controlled, the crumb tends to be lighter and less dense.
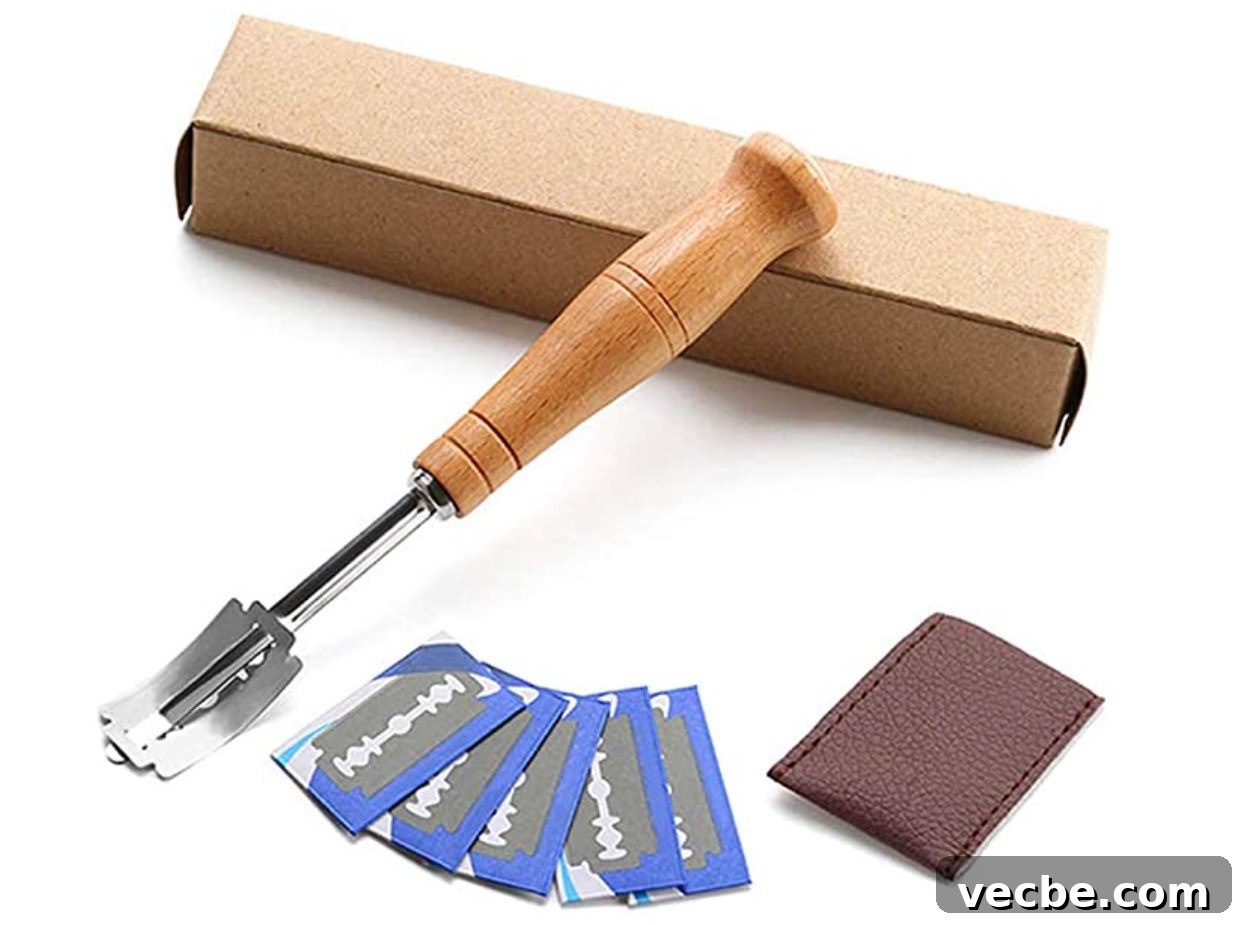
Practice and timing are important. Score immediately before placing the loaf into the preheated Dutch oven so the surface is still cold and slightly taut from refrigeration. If you wait too long, the dough can relax and lose its ability to hold a sharp ear. One confident cut is better than several tentative slashes, which can deflate the dough or create uneven expansion.
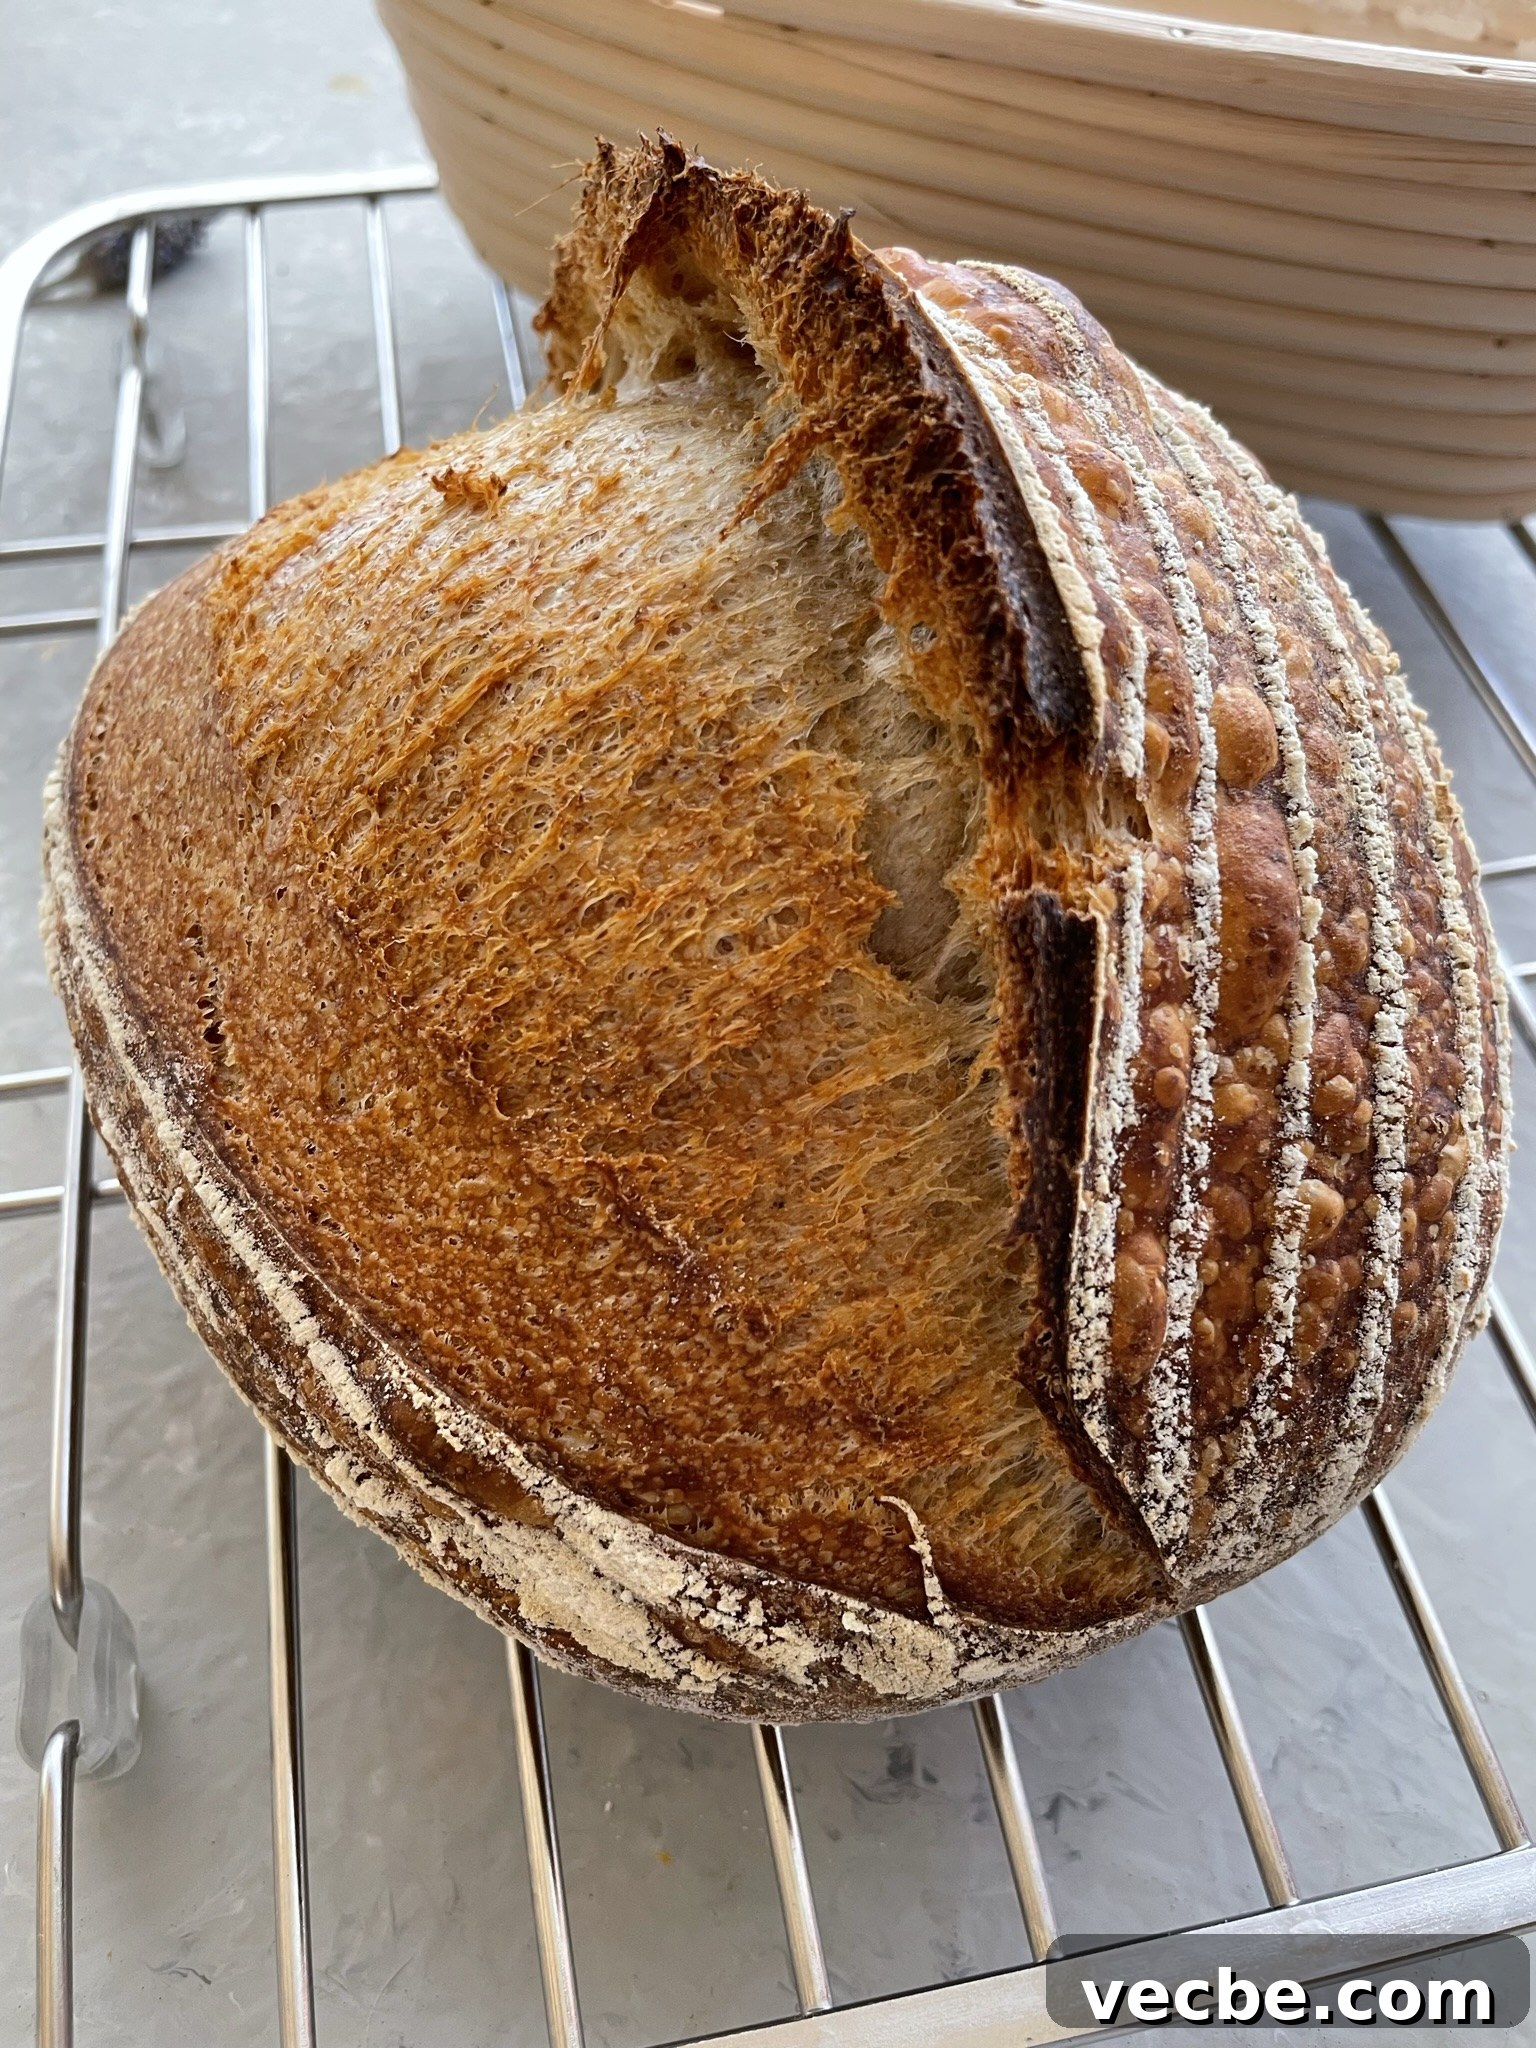
Texture details like blistering and a pronounced ear are often celebrated in the sourdough community. Blisters—small raised pockets on the crust—develop from gas trapped near the surface during a long, cool fermentation. When the loaf hits the intense heat of the Dutch oven, the crust sets quickly and the trapped carbon dioxide expands, forming those characteristic bubbles. Some bakers prize blistering as a sign of strong fermentation and surface activity, while others focus more on crust color and crumb structure; both preferences are valid, and neither blisters nor a big ear alone determine flavor.
Scoring patterns can be simple or decorative depending on whether you want primarily functional results or visual impact. For everyday loaves, a single long slash down the center or a couple of parallel cuts will reliably direct oven spring. For more decorative loaves, practice on test dough to refine angle and depth without risking your main loaf. Remember that scoring is one part of baking sourdough; dough hydration, fermentation time, shaping, and oven environment all influence the final result.
In short, thoughtful scoring helps control how your sourdough expands, contributes to a cleaner, more open crumb, and enhances the crust’s appearance and texture. With sharp tools, chilled dough, and a confident hand, you’ll consistently produce loaves with beautiful ears, good oven spring, and appealing surface character.