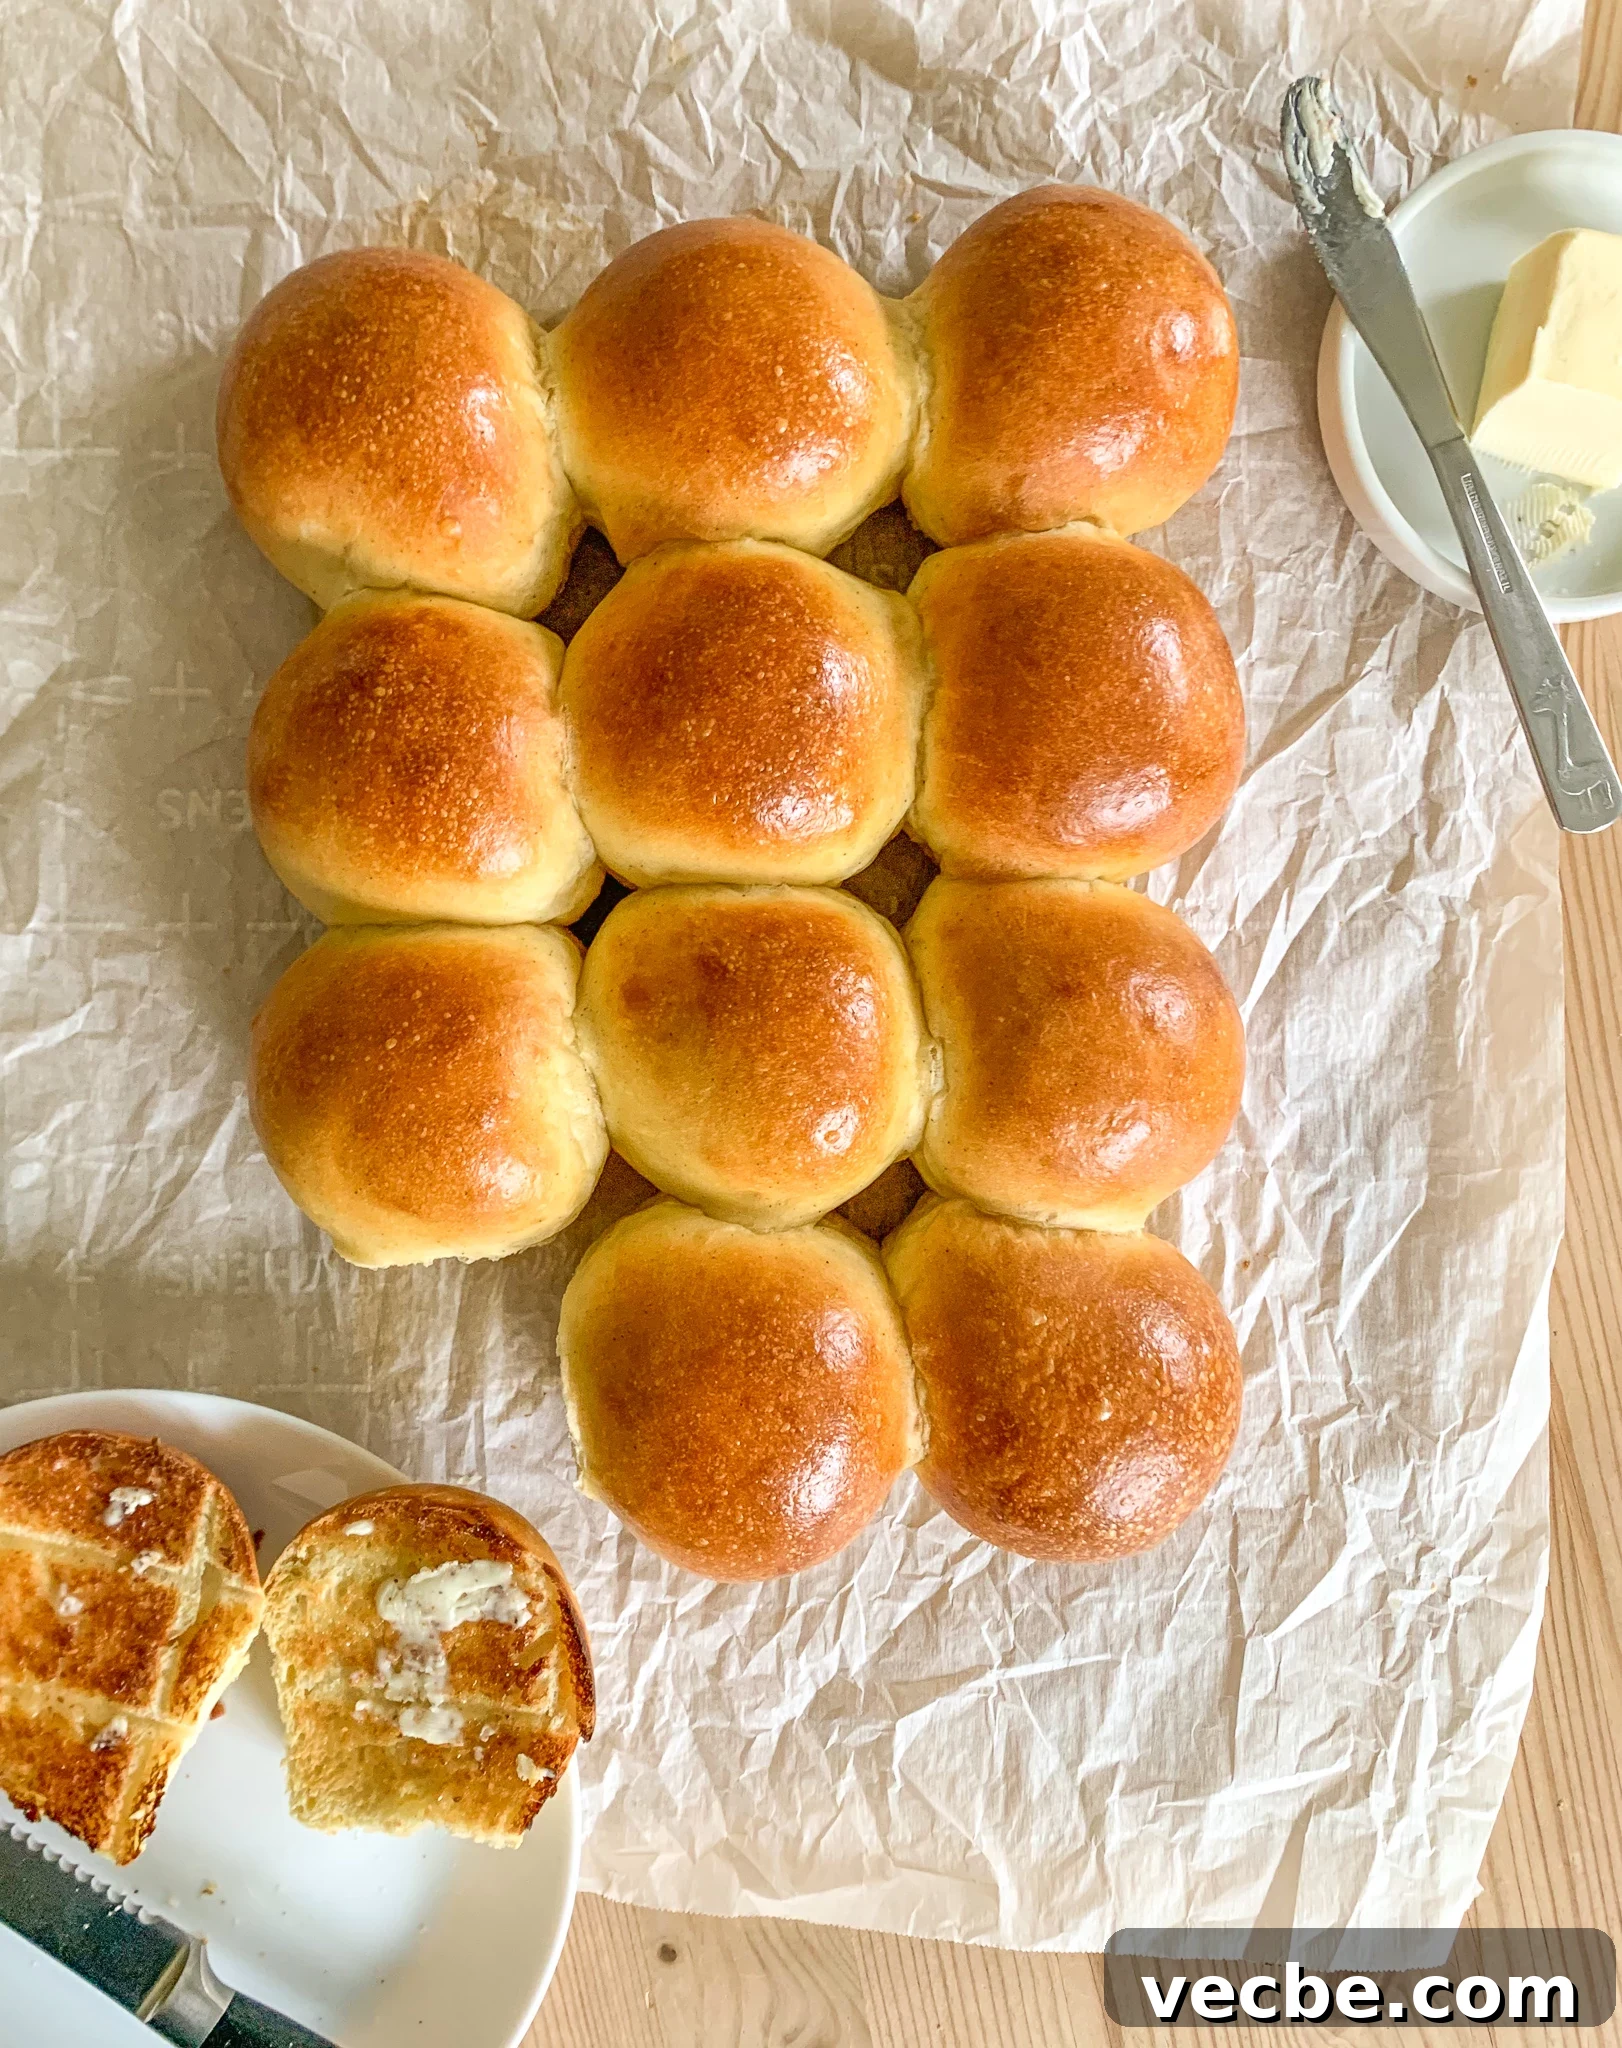
This Friday, April 30th, Danes will mark Store Bededag, or Great Prayer Day, a holiday observed on the fourth Friday after Easter. Historically it combined several minor religious observances into a single day off, simplifying the calendar of holidays. Over time, religious observance became less central for many people, but traditional foods and customs tied to these holidays remain strong in Danish culture. One of the most beloved customs connected to Store Bededag is the baking and eating of varme hveder — warm wheat buns — the evening before the holiday.
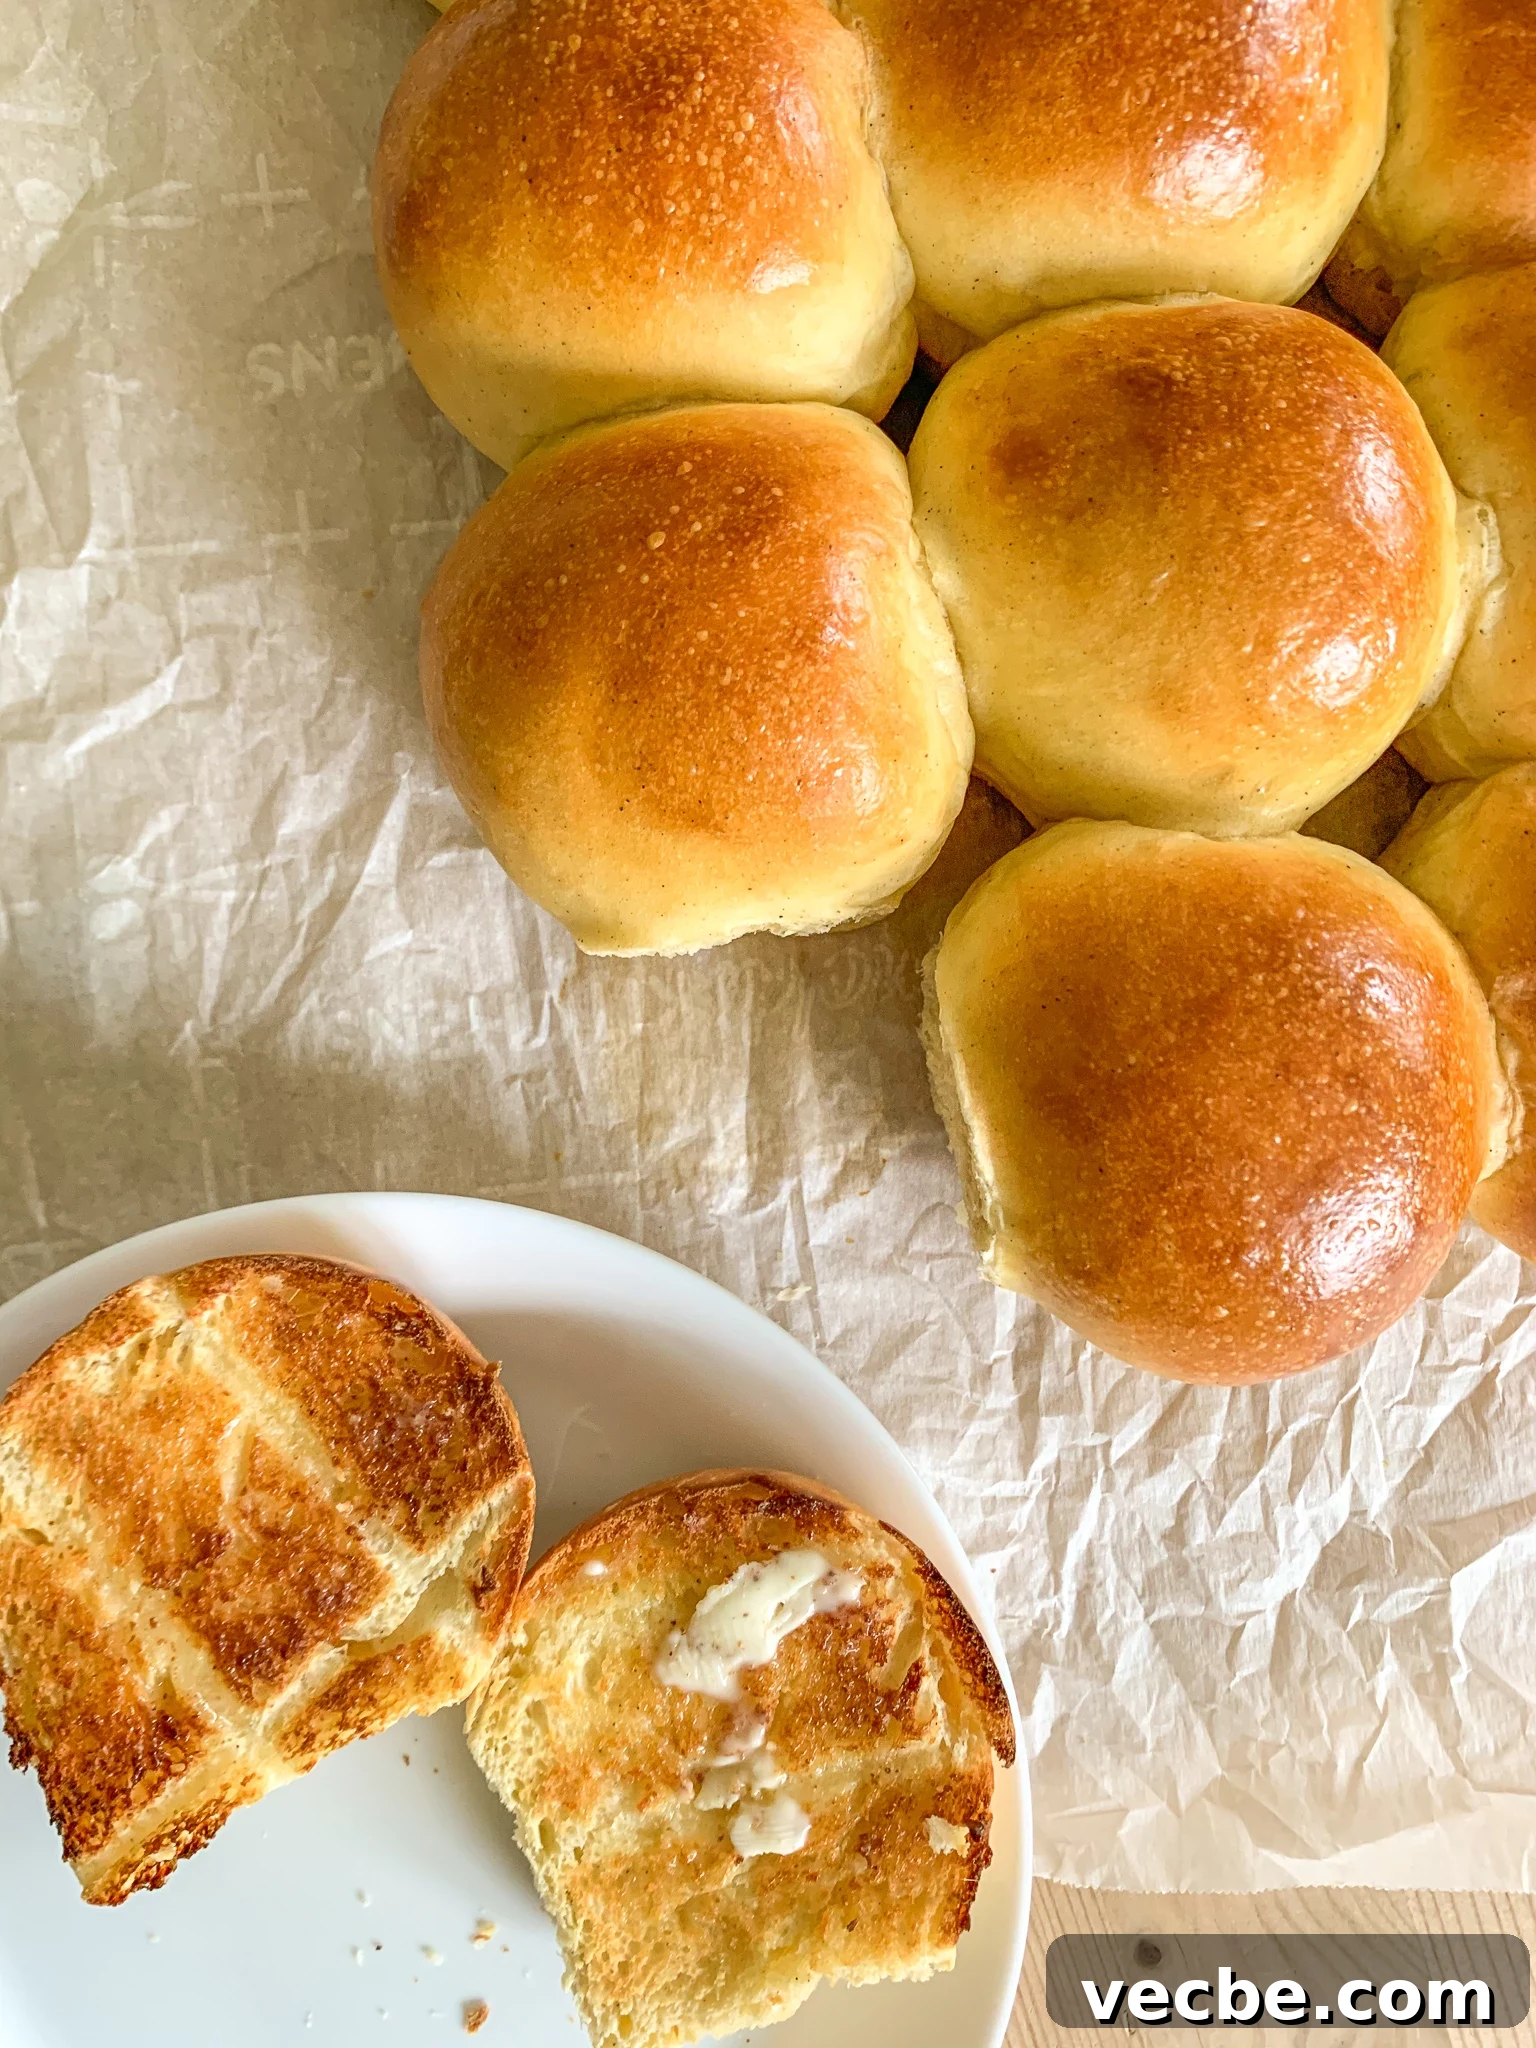
The custom of varme hveder grew from a practical solution in the 19th century, when many households relied on local bakeries and not every home had an oven. Since bakeries closed for Store Bededag, bakers would bake extra wheat rolls the evening before so people could enjoy fresh bread the next day. Because these rolls are so tempting and fragrant, families often ate them that same evening, and the tradition of enjoying them the night before the holiday stuck. Today the rolls are enjoyed toasted and heavily buttered, or with jam and cheese, as part of a cozy Danish ritual.
Below is a straightforward recipe for about 12 soft, lightly spiced wheat buns. The dough is enriched with eggs and butter and lightly scented with cardamom. The method is forgiving: mix, knead until smooth, allow two rises, shape the rolls, glaze and bake. For best results toast the rolls and spread with room-temperature butter. This recipe is well suited for home bakers who want an authentic, tender roll with a crisp, golden crust.
Varme hveder (Danish Wheat Buns)
Servings: 12 rolls
Prep time: 2 hrs 30 mins (including rises)
Cook time: 14 mins
Total time: 2 hrs 44 mins
Course: Breakfast, Lunch, Snack | Cuisine: Danish
Important note: This recipe was developed and tested using a digital scale and the metric system (grams and milliliters). If you use cup measurements, results may vary. We test recipes in a convection (fan) oven; adjust temperature and time for conventional ovens if needed.
Ingredients
- 2 tsp instant yeast (or 2.25 tsp active dry yeast; 17.5 g fresh yeast)
- 200 ml milk (a little less than 1 cup)
- 2 large eggs
- 1.5 tbsp sugar
- 1 tsp ground cardamom
- 1 tsp salt
- 57 grams (4 tbsp) unsalted butter, melted
- 450 grams (about 3 3/4 cups) bread flour or all-purpose flour
Instructions
-
If using active dry yeast, warm the milk until it feels finger-warm (warm to the touch but not hot). Stir in the yeast and let it sit 5–10 minutes until bubbling. If using instant yeast, you can add it directly to the milk without proofing.
-
In a large bowl, whisk together the eggs, sugar, and cardamom. Add the yeast-milk mixture (or the milk with instant yeast) and mix until combined.
-
Add the salt, melted butter, and flour. Stir with a wooden spoon until the dough begins to come together. Turn the dough onto a lightly floured surface and knead by hand about 8–10 minutes until smooth and elastic. Alternatively, use a stand mixer with a dough hook for 8–10 minutes. The dough should be soft and slightly tacky but not sticky.
-
Place the dough in a lightly oiled bowl, cover with cling film or a clean kitchen towel, and leave in a warm spot to rise until doubled in size, about 1–1.5 hours depending on room temperature.
-
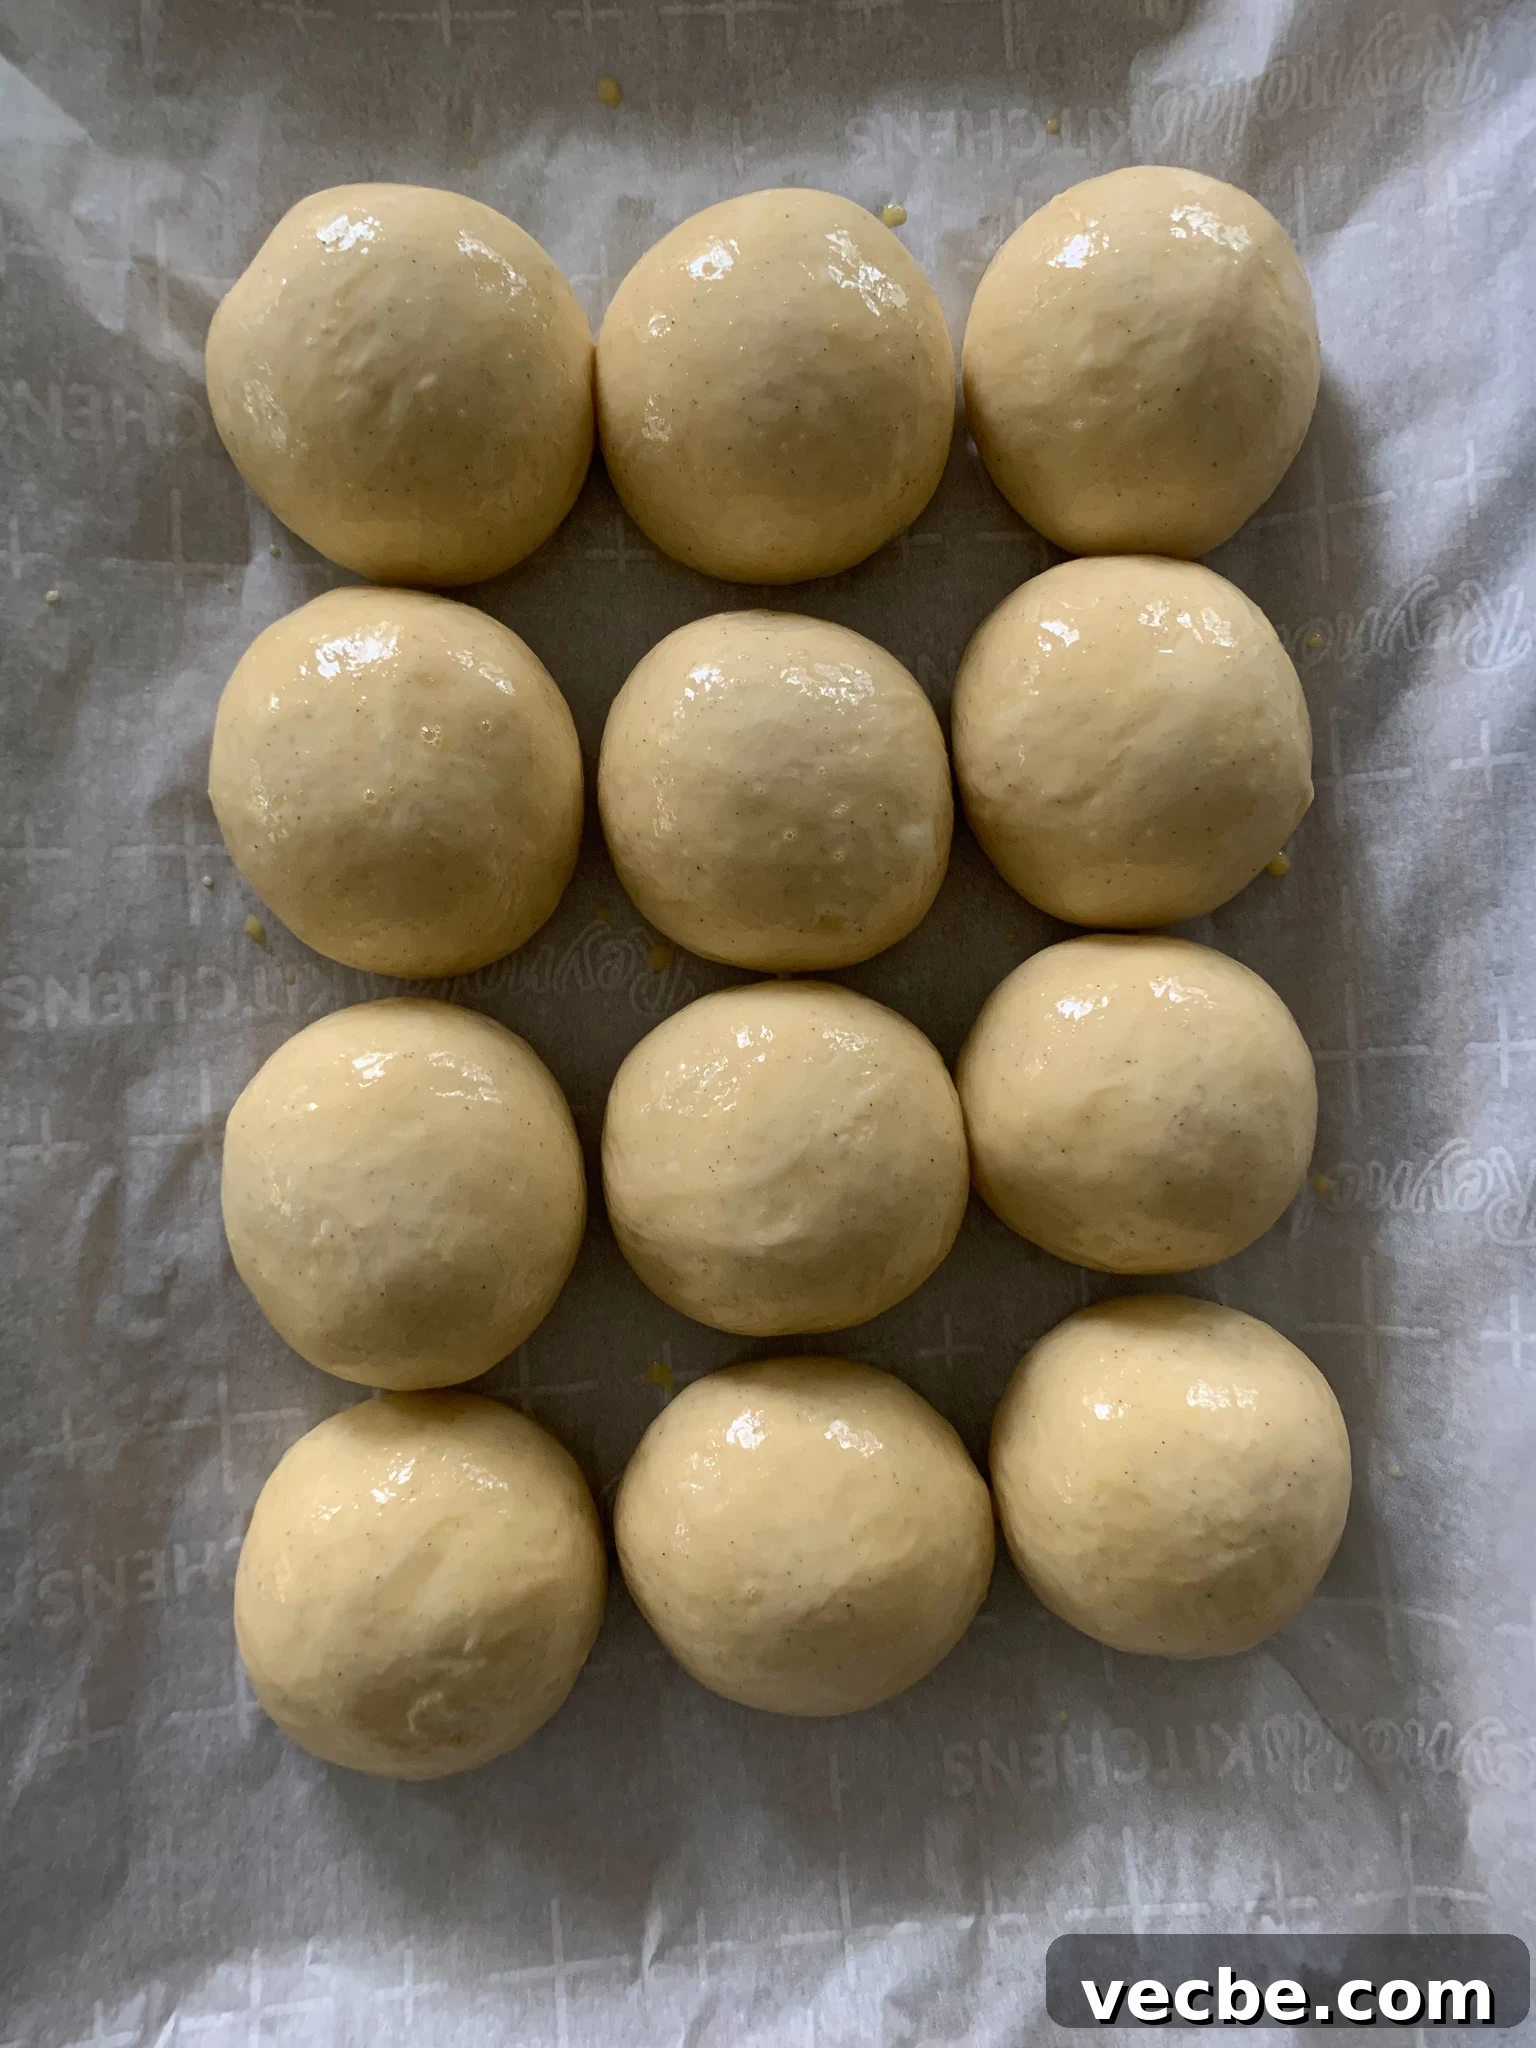
Punch down the risen dough and divide it into 12 equal pieces. For even rolls, weigh the dough, divide by 12, and shape each piece into a tight ball. To form neat rolls: pinch the dough into a ball, cup it in your palm with the seam down, and make quick, tight circular motions on the counter to create surface tension. Place the rolls on a parchment-lined baking sheet.
-
Cover the rolls and let them proof for another 30–45 minutes, until puffy. Meanwhile preheat the oven to 200°C (390°F). Use the poke test to check readiness: a gentle poke should leave a small indentation that springs back slowly.
-
Brush the tops with an egg wash (one egg whisked with a splash of water) and bake for about 14 minutes, rotating the tray halfway through for even browning. The rolls are done when they are golden brown and sound hollow when tapped on the bottom. If they look pale, give them an extra 1–2 minutes.

-
Cool slightly, then split and toast if desired. Smother with plenty of room-temperature butter and enjoy. Jam and cheese are also excellent accompaniments.
Tips, Storage, and Serving Suggestions
- For even-sized rolls, weigh the dough and divide by the number of portions before shaping.
- If your kitchen is cool, allow a bit more time for the dough to rise; if it’s warm, watch closely to avoid overproofing.
- To store: keep cooled rolls in an airtight container at room temperature for up to 2 days. Reheat briefly in the oven or toaster before serving.
- To freeze: cool completely, wrap individually or in a single layer, and freeze for up to 3 months. Thaw and reheat or toast before eating.
- Serving ideas: split and toast, then spread with butter and jam, or serve with cheese and cold cuts for a simple meal.
Video
A video demonstration of this recipe can help visualize shaping and baking techniques. If you prefer visual instructions, search for a trusted video of varme hveder to follow along with the steps above.
Keywords: cardamom, Danish, wheat buns, soft rolls, toasted with butter
Difficulty: Intermediate