Gluten Free, Dairy Free Ice Cream Cake
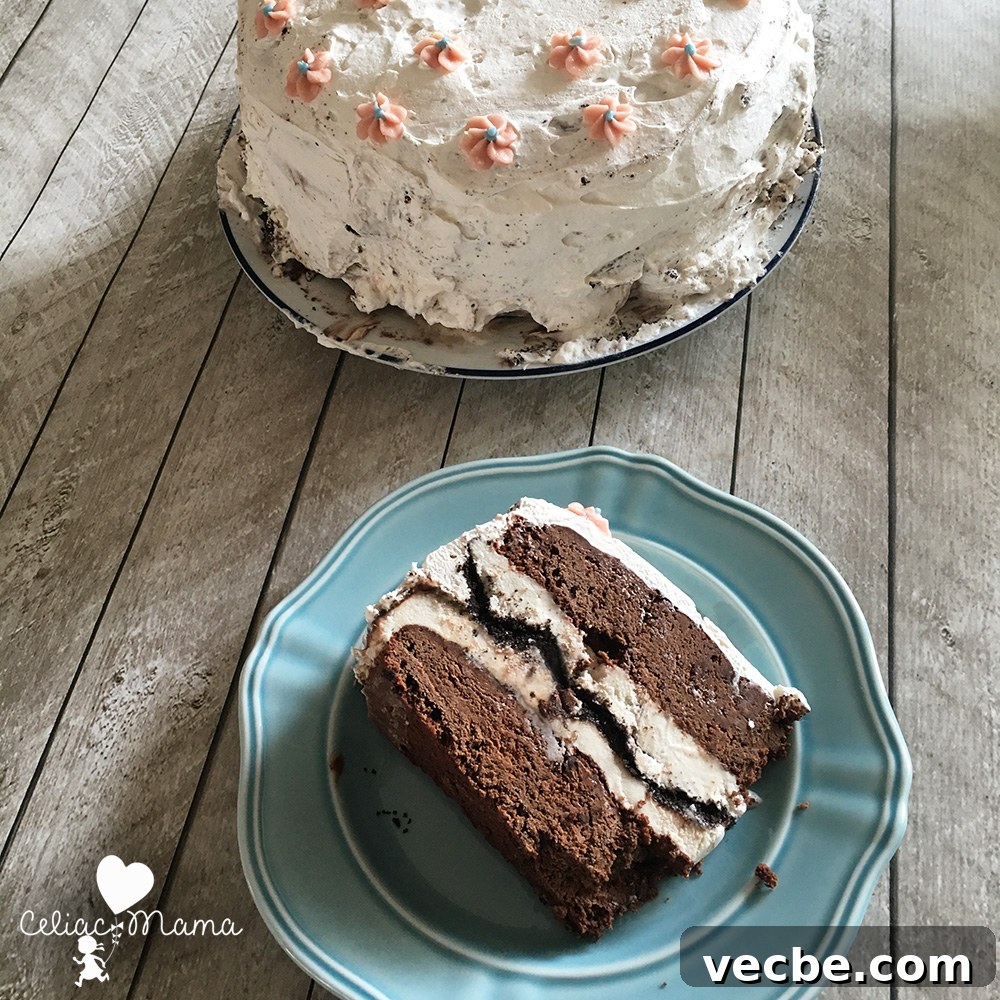
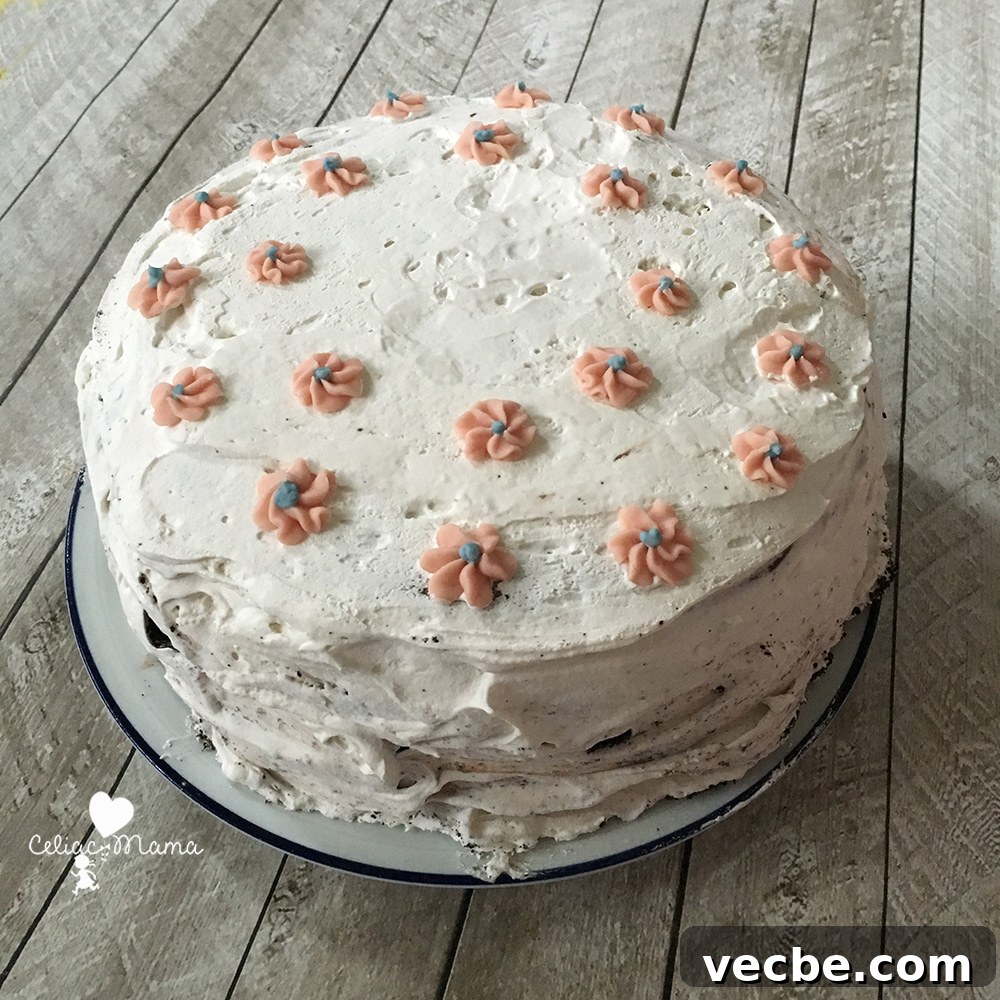
My daughter, the inspiration behind Celiac Mama, turned five this weekend. Celebrating her birthday felt like a milestone: she’s graduating from preschool and heading to kindergarten, and she’s become a healthy, happy little girl after we learned she has celiac disease. Managing celiac naturally has been a learning curve, but once we figured out what keeps her well she’s been able to enjoy life more fully. For her special day she asked for an ice cream and brownie cake with pink flowers on top — so I set out to create an epic gluten-free, dairy-free version that was both delicious and manageable for a busy parent.
To save time I leaned on store-bought favorites rather than making everything from scratch. Below I list the recipe in a flexible way so you can substitute brands you prefer, but these are the products that worked well for us:
- Gluten-free, dairy-free ice cream (3 pints total)
- Gluten-free brownie mix (2 boxes, plus required mix-in ingredients)
- Dairy-free vanilla frosting
- Natural red and blue food coloring
- Coconut whipped topping
- Gluten-free chocolate sandwich cookies
- Dairy-free chocolate fudge syrup
Tools You’ll Need
Keeping the tools simple makes this project doable. You don’t need professional equipment — just a few basics:
- Parchment paper
- 1 baking sheet
- Two 9-inch round pans (or one, if you don’t mind the extra time)
- One 9-inch springform pan
- One large mixing bowl and two small bowls
- Icing tips (Wilton 1D and 2D or similar) and disposable decorating bags or zip-top bags
- Spatula or icing knife
Recipe Summary
This gluten-free, dairy-free ice cream cake is free of gluten, dairy, tree nuts and peanuts (depending on the brands you choose). It serves about 12 adults or 15 children.
Details
- Course: Dessert
- Cuisine: American
- Prep time: 45 minutes
- Cook time: 25 minutes
- Freezing time: 11 hours (minimum)
- Total time (active): about 1 hour 10 minutes, plus freezing
- Servings: 12
- Calories (per serving): 379 kcal
- Author: Jereann Zann – Celiac Mama
Ingredients
- 3 pints gluten-free, dairy-free ice cream
- 2 boxes gluten-free brownie mix (plus required eggs, oil, water or dairy-free butter as directed)
- 1/2 cup dairy-free chocolate fudge syrup
- 1 package gluten-free chocolate sandwich cookies
- Natural red and blue food coloring
- 6 oz dairy-free vanilla frosting
- 9 oz coconut cream dairy-free whipped topping
Instructions
- Prepare the brownies according to the package directions. If the mix asks whether you prefer fudgy or cake-like brownies, choose fudgy — that texture holds up better after freezing. Substitute dairy-free butter or coconut oil if the recipe calls for butter.
- Divide the batter evenly between two 9-inch round pans and bake until a toothpick inserted in the center comes out almost clean. Remove and cool completely.
- Line the bottom of your 9-inch springform pan with parchment paper. Place one cooled brownie layer into the bottom of the springform pan and freeze for at least one hour to firm up; this makes spreading the ice cream easier.
- While the brownie chills, open the cookies and remove the cream centers (discard). Pulse the cookie halves in a blender or food processor until coarsely crumbled — not powdery, you want some crunch.
- Let the ice cream soften on the counter for about 15 minutes until scoopable but not melted. Spread 1½ pints evenly over the chilled bottom brownie with a spatula.
- Drizzle the chocolate fudge syrup over the ice cream, then sprinkle a layer of cookie crumbles.
- Scoop the next 1½ pints of ice cream on top and spread smoothly. Place the second brownie on top, then cover and freeze for a minimum of 12 hours (overnight is best).
- While the cake freezes, make the decorative flowers. Line a baking sheet with parchment. Divide 1/4 of the frosting into a small bowl and tint it blue with a few drops of food coloring. Tint the remaining frosting pink by adding a little red coloring until you reach your desired hue.
- Fill two decorating bags (or zip-top bags with a corner snipped) with the pink and blue frostings and insert piping tips if you have them. To pipe the flowers, hold the pink bag at a slight angle, press down and rotate your wrist to form a small swirl, then release. Pipe as many flowers as you need onto the parchment, add a dot of blue to each center, and freeze the flowers for at least 10 hours or overnight so they hold their shape.
- When the cake is fully frozen, remove from the freezer and carefully release the springform sides. Frost the top and sides of the cake with coconut whipped cream and return it to the freezer for 2–3 hours to set.
- Remove the frozen flowers from the baking sheet using a spatula and place them on top of the cake by hand. The chilled coconut whipped cream will be firm enough to hold the flowers in place. Freeze the cake for at least another hour or until ready to serve.
Serving Note
Coconut-based ice cream tends to soften faster than dairy ice cream. Instead of letting the cake sit out for 30 minutes like many store-bought ice cream cakes, bring it out for just 5 minutes, add candles and sing happy birthday. By the time the song is finished and you’ve waited another 5 minutes, the cake will be soft enough to slice cleanly without melting too much.
Nutrition Facts
- Fat 18g — 28% (Saturated Fat 10g — 63%)
- Cholesterol 52mg — 17%
- Sodium 169mg — 7%
- Potassium 276mg — 8%
- Carbohydrates 46g — 15% (Fiber 1g — 4%; Sugar 40g — 44%)
- Protein 4g — 8%
- Vitamin A 500 IU — 10%
- Vitamin C 0.7 mg — 1%
- Calcium 158 mg — 16%
- Iron 0.3 mg — 2%