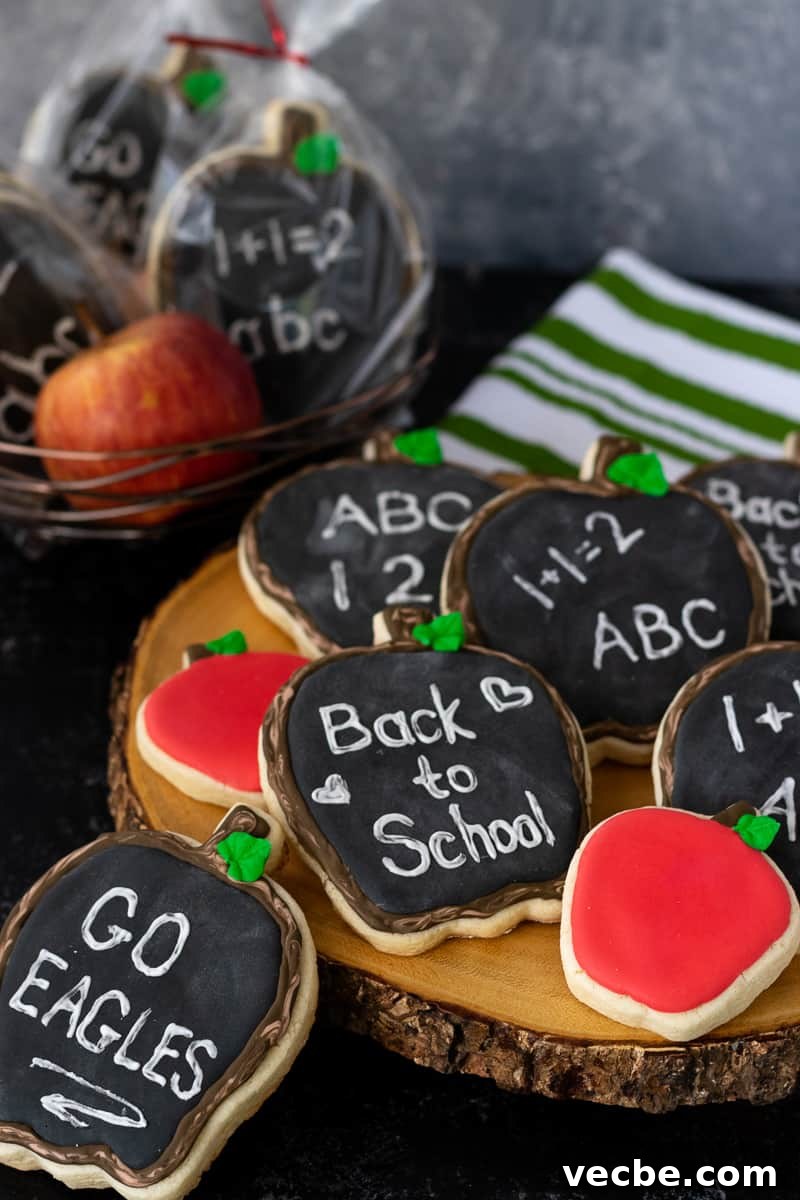
Make charming back-to-school sugar cookies with this chalkboard apple cookie tutorial. These decorated cookies make a thoughtful edible teacher gift or a fun celebration for the first day of school.
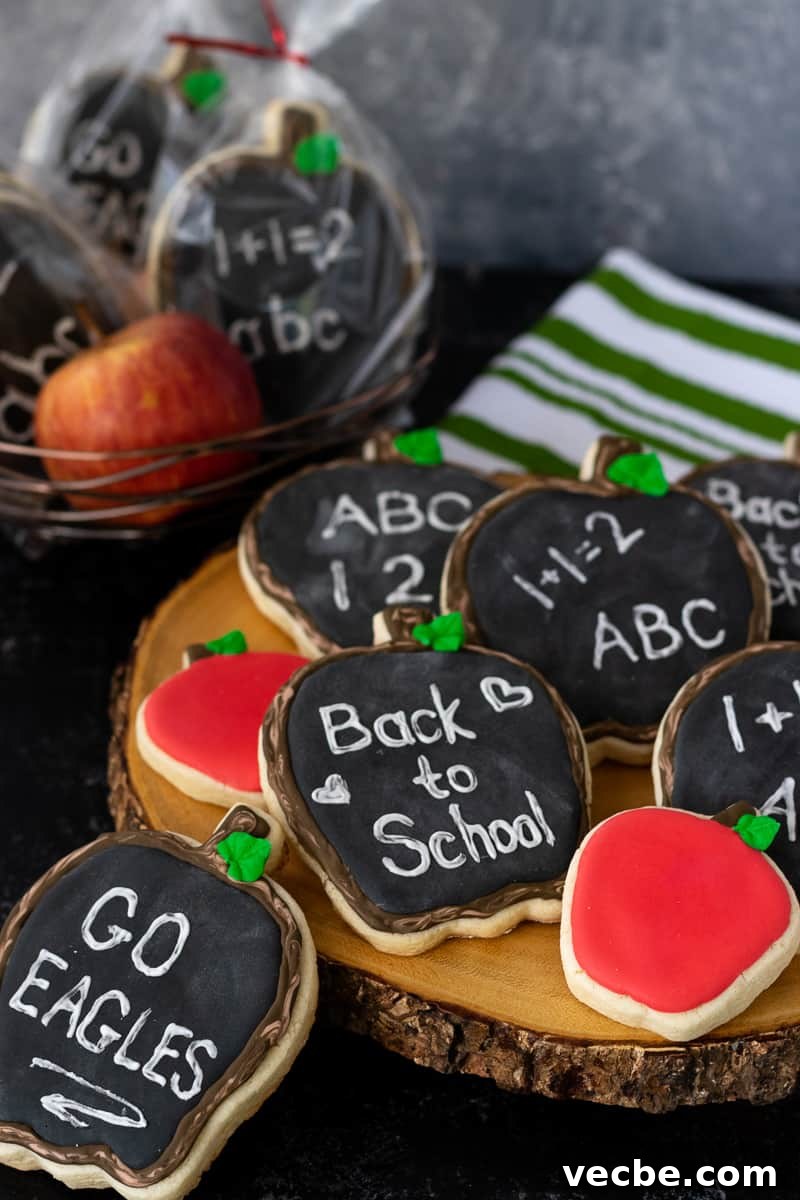
Summer winds down and routines start to return. Back-to-school season brings fresh schedules, new supplies, and little celebrations worth marking. I wanted cookies that felt special this year — not the usual apples and pencils set — so I designed chalkboard apple sugar cookies. They pair a classic apple shape with a mini chalkboard surface for cute doodles and messages. These cookies are perfect for classroom gifts, teacher treats, or a sweet way to celebrate a child’s milestone like starting kindergarten.
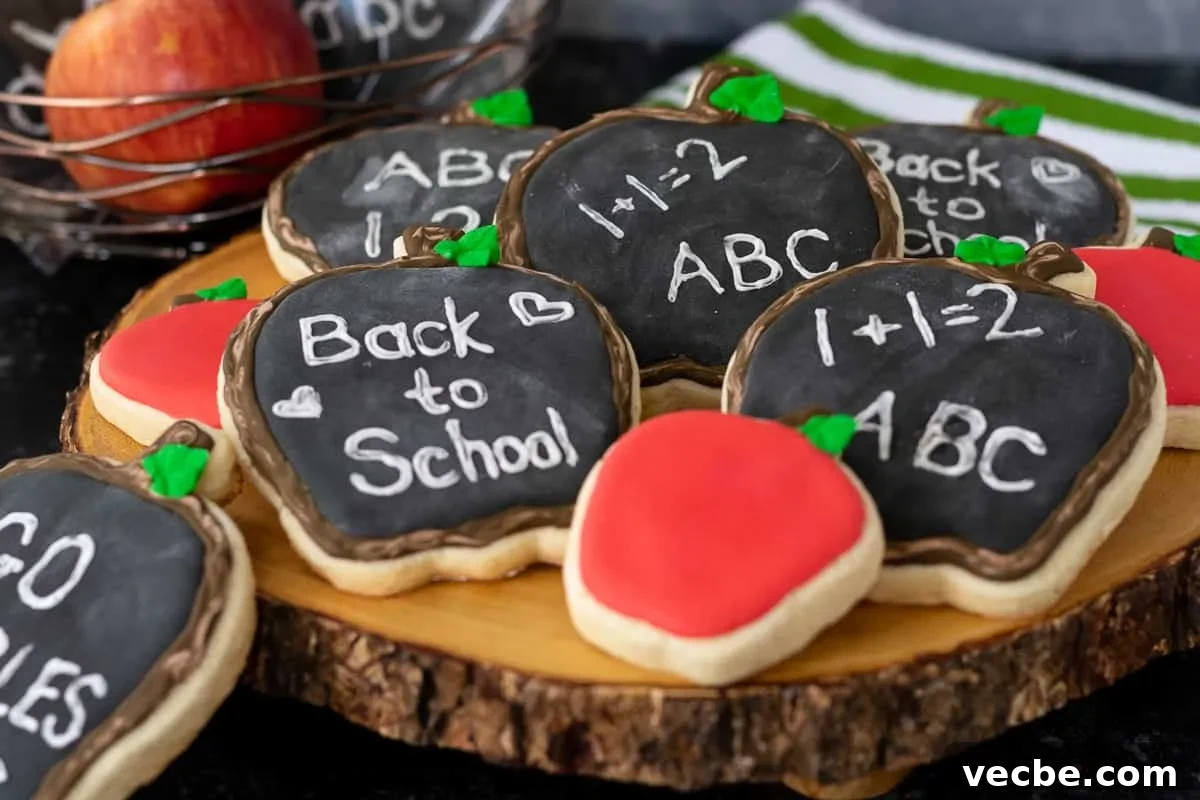
How to make chalkboard apple cookies
This tutorial covers the basics without getting overly technical. I’ll outline materials, coloring tips for a true black royal icing, the technique for the chalkboard finish, and a clear step-by-step decorating process so you can recreate these cookies at home.
Materials and supplies
- Apple-shaped cookie cutters in two sizes (large for chalkboard apples, small for accent apples)
- Baked plain sugar cookies (cut and baked ahead)
- Royal icing in these colors: black, white, light brown, dark brown, red, green
- Piping bags, a couple of piping tips (including a leaf tip), couplers
- A stiff food-safe brush and a softer food-safe brush
- Cornstarch for dusting (or powdered sugar as an alternative if needed)
- Scribe tool or toothpicks for smoothing edges
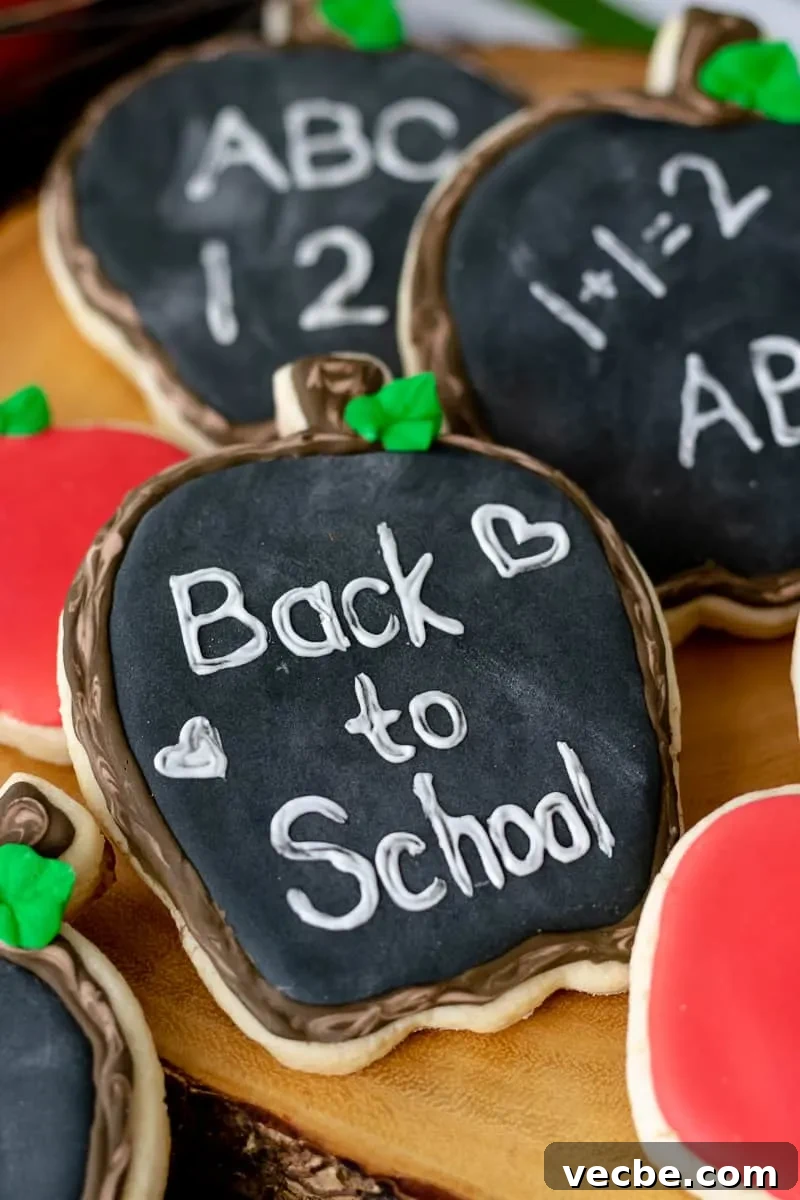
Coloring the royal icing — getting a true black
I use concentrated gel food coloring for royal icing because it blends smoothly and needs less product than liquid coloring. Making a deep, true black royal icing takes time: tint a portion of icing to a very dark gray with black gel, cover it, and let it rest for at least 30 minutes. The color will deepen as it sits; you can refrigerate overnight if needed and then bring it back to room temperature and stir before using. This method uses less coloring overall and produces a more even, true black finish than trying to force black immediately.
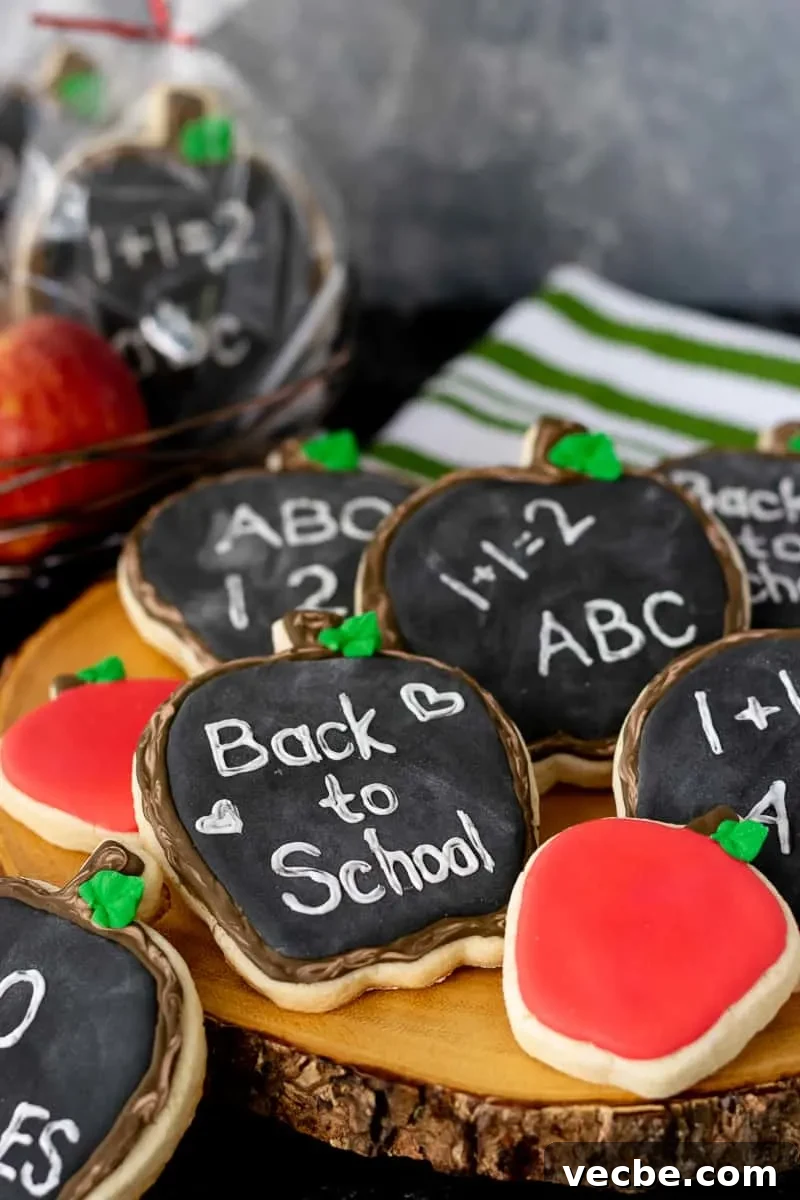
What creates the chalkboard look?
The worn chalkboard effect comes from a light dusting of cornstarch over the black icing and gentle brushing to soften the white icing doodles. Cornstarch gives a realistic matte, dusty appearance. If cornstarch is not an option, a fine dusting of powdered sugar can work, but powdered sugar is more prone to clumping in humid conditions and can shorten shelf life.
To add a rustic chalk look, pipe white doodles with medium-consistency icing, then use a slightly damp firm brush to lift and smudge small areas while the white is still workable. Work in small sections so the white icing doesn’t dry completely before you texture it.
Timing and storage
Plan two days for the full project: bake and add the black base layer on day one, then finish the decorating on day two. Allow the base layer to dry fully (I recommend at least 8–12 hours) before adding cornstarch and white doodles. Once fully dry, store decorated sugar cookies in an airtight container at room temperature for up to a week. Place parchment or paper towels between layers to protect decorations and prevent color transfer.
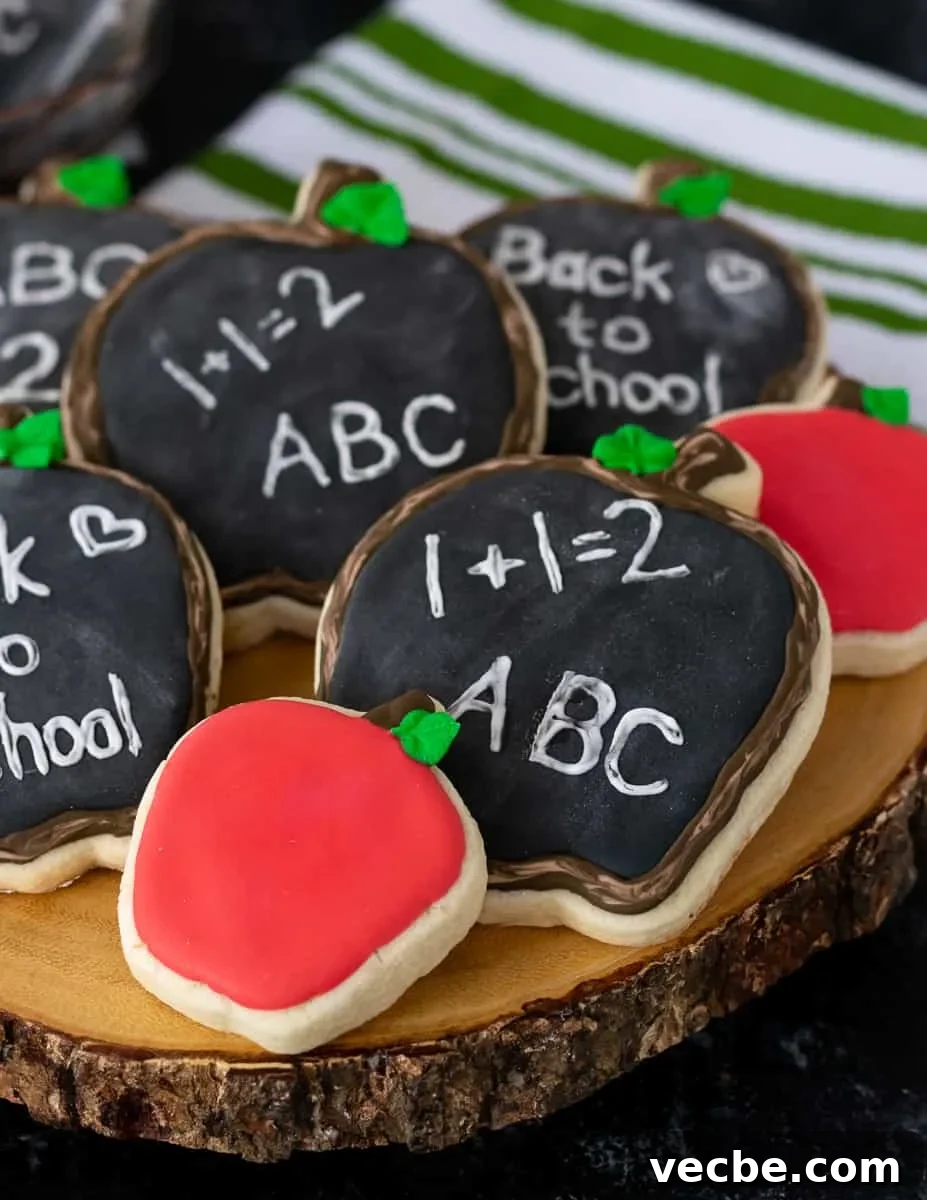
Materials (concise)
- Plain baked sugar cookies
- Royal icing (black, white, red, green, light and dark brown)
- Gel food coloring
- Piping bags and tips
- Food-safe brushes, cornstarch, scribe tool
Tools
- Large and small apple cookie cutters
- Leaf piping tip and small round tips
- Icing couplers, scribe tool or toothpicks
- Food-safe paint brushes (stiff and soft)
Step-by-step instructions
- Bake sugar cookies with your preferred recipe and let them cool completely.
- Prepare royal icing and divide into portions for black, white, red, green, light brown, and dark brown. Make the white portion smallest and the black and red larger.
- Mix the black and red icings first, then cover and rest for 30 minutes. Stir and adjust color if necessary.
- On fully cooled cookies, pipe the chalkboard area on the large apples, leaving room for a border. Smooth edges with a scribe tool. Let dry completely (8–12 hours recommended).
- Lightly dust the black area with cornstarch and brush off the excess to create a worn surface.
- Pipe white chalk doodles using medium-consistency icing in small sections. After each small section, use a stiff slightly damp brush to soften and remove tiny amounts of icing to achieve a natural chalked look. Clean the brush often.
- Add the border and wooden-frame details using dark and light brown flood consistencies; drag the lighter brown through the dark to simulate wood grain.
- Use stiff green icing with a leaf tip to pipe leaves on each cookie. Allow all decorations to dry fully before packaging.
- For the small accent apple cookies: flood the fruit area with red icing, pipe a brown stem, and add a green leaf with the leaf tip. Let dry.
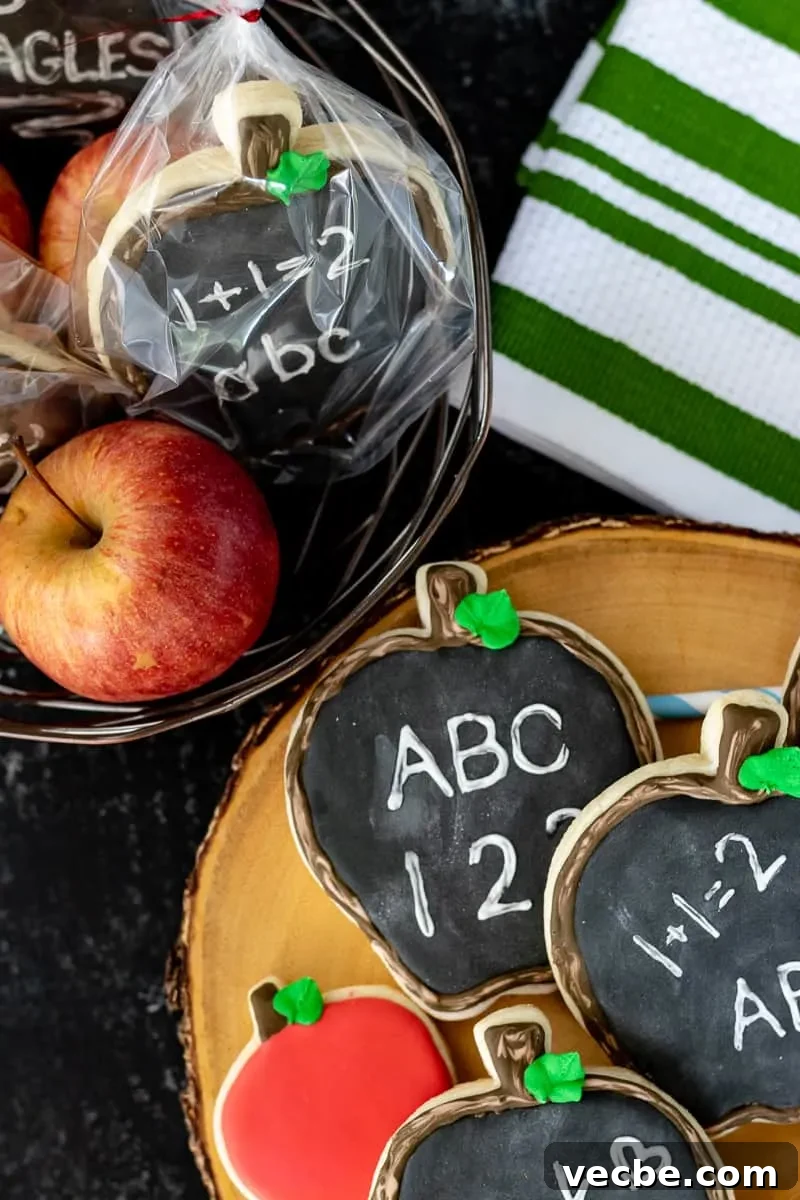
- Once dry, package cookies in clear bags with ties or in boxes layered with parchment to protect them during transport.
I hope this tutorial inspires you to make a set of back-to-school chalkboard apple cookies. The combination of a dark chalkboard surface and soft white doodles makes for an eye-catching, nostalgic treat that’s perfect for teachers, classmates, or a special first-day-of-school surprise.